We edit photos!
Elevate your digital offerings with our premium Image Editing and Clipping Path Services for a superior online experience.


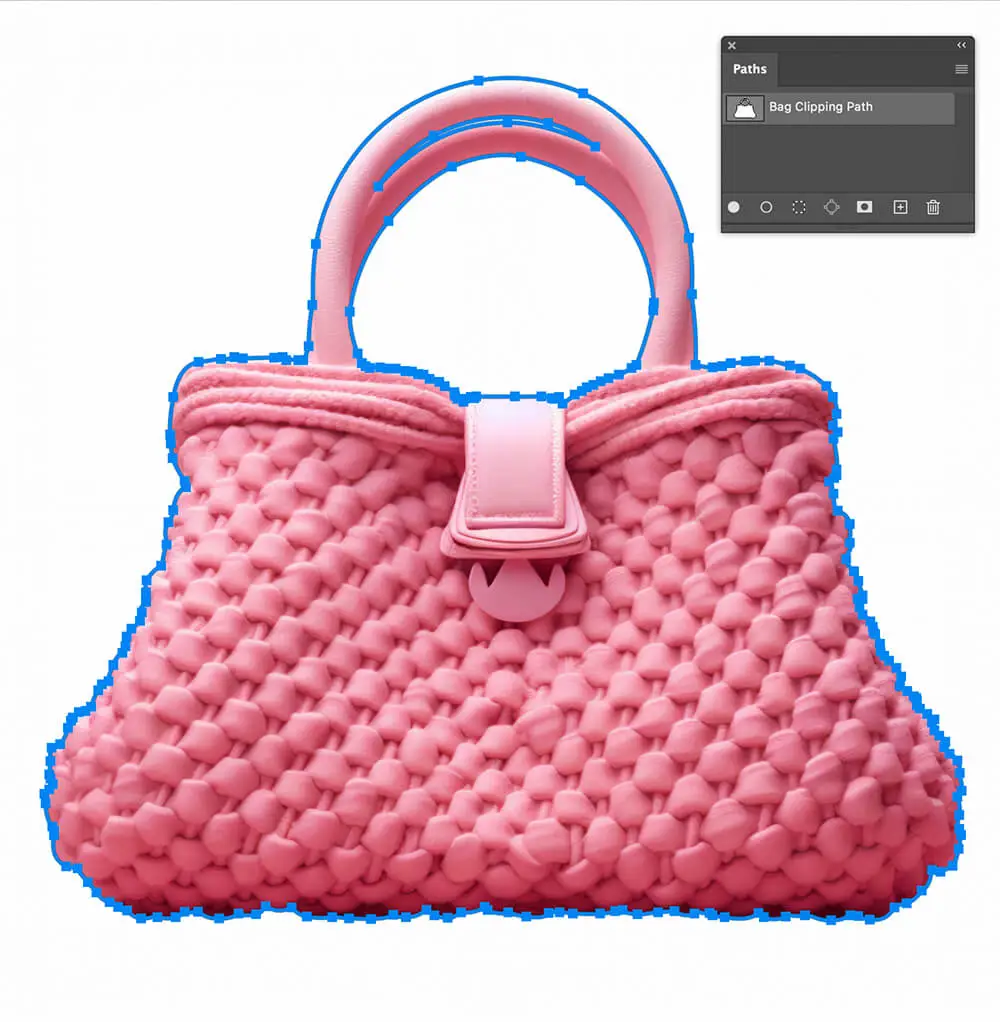
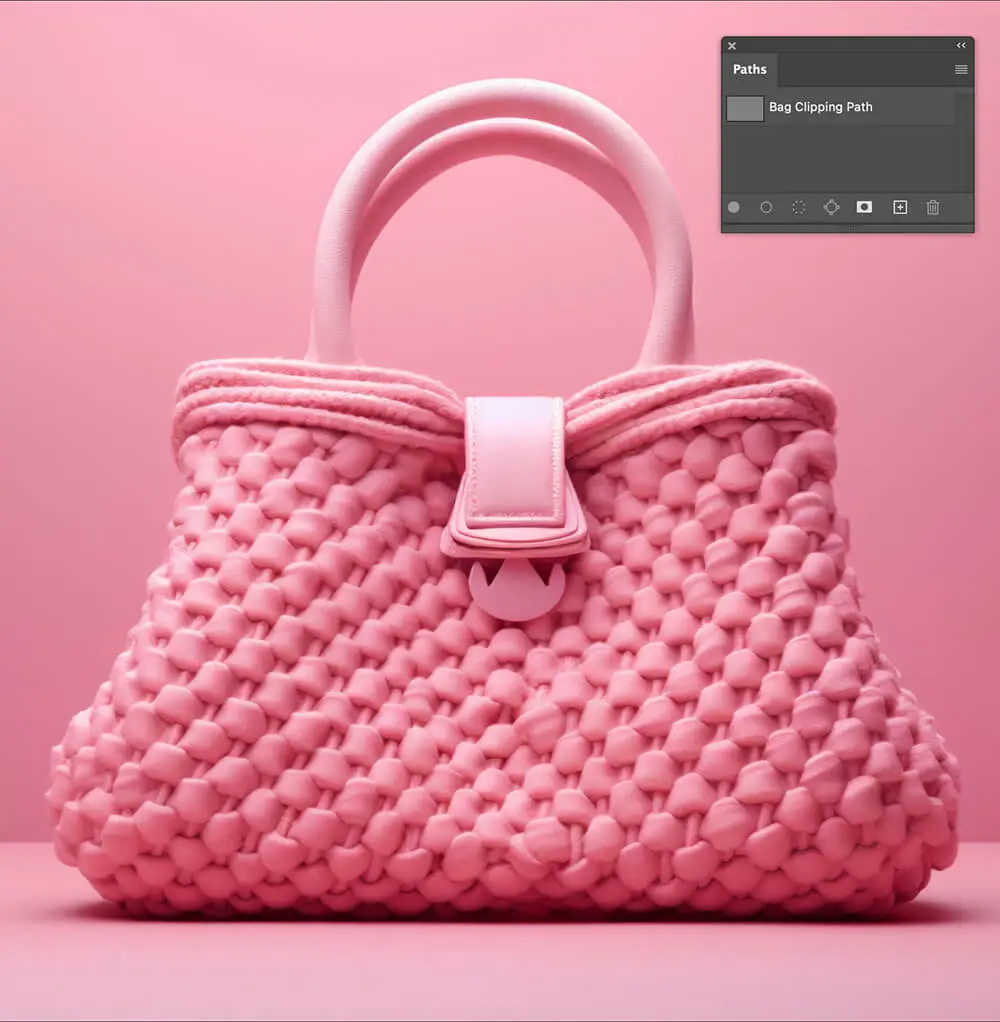
Photoshop clipping path service is a process in which a part of an image is isolated and separated from its background. This technique is used to remove the background of an image or to change it to a transparent or solid color.
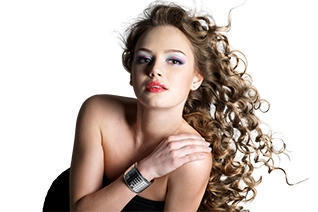
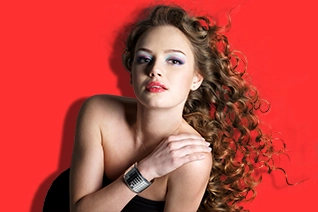
Photoshop hair masking service is a technique used to separate and isolate hair from the background in an image. The process involves creating a mask around the hair, which is then used to cut it out from the rest of the image.
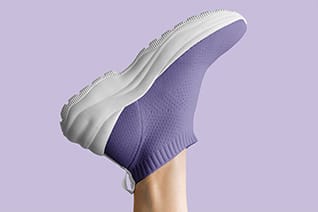
Shadows are important for any picture's impression, texture, and sense of depth. There are several types of effects that range from mirroring and reflection. Drop shadow service is yet effective. Each effect represents a different form of expression.

Ghost mannequin service is a process used in clothing and fashion photography to hide the mannequin or model's body and create the illusion that the clothing is being worn by a person.

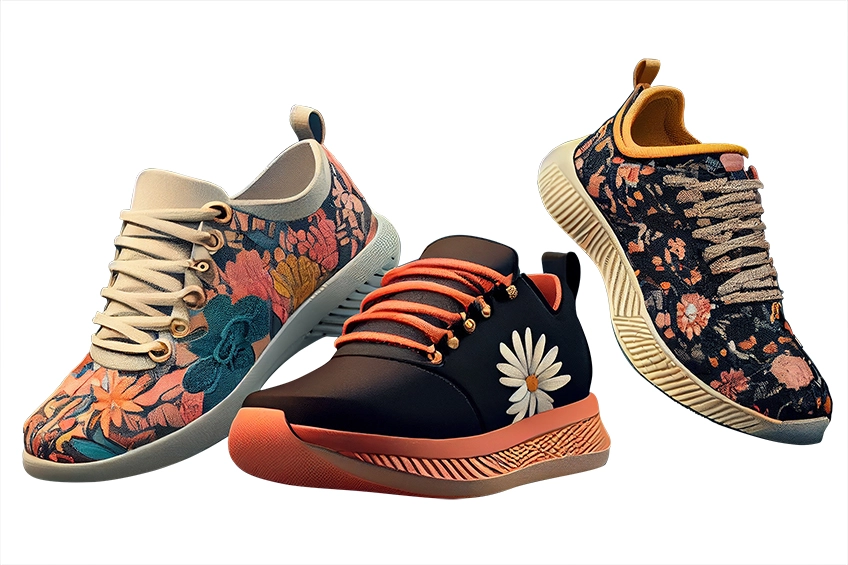
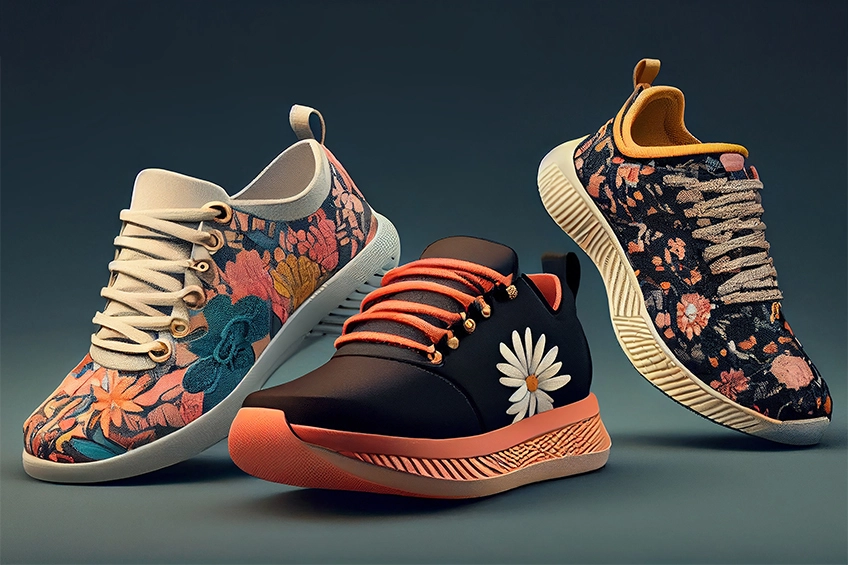
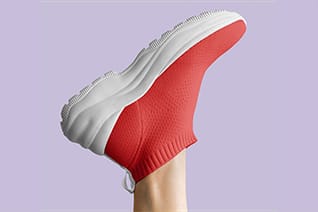
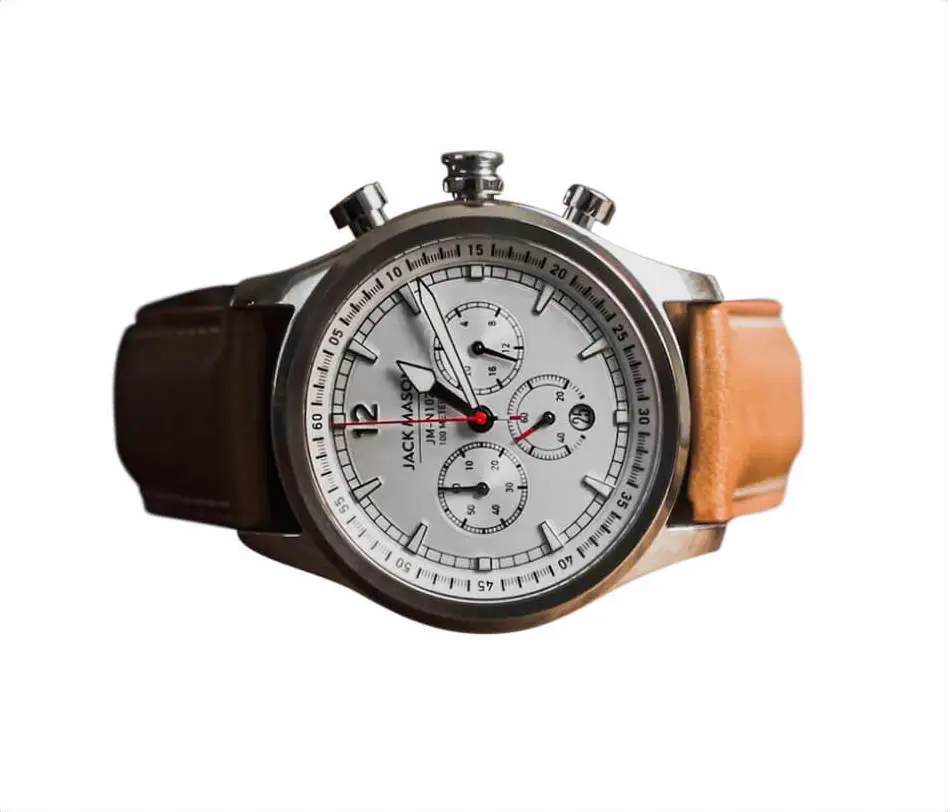
Background removal service removes unwanted backgrounds from images, resulting in a clear and visually appealing image with the main subject in focus.
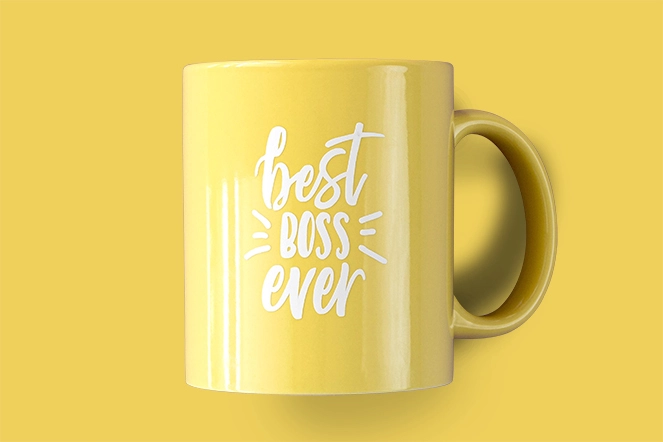
Our high professionals, skilled and dedicated specialists always use the most recent/latest photo color changing methods/techniques to provide the most precise photo enhancement works. Our scheme is to involve the original.
Vector conversion service transforms raster images, like photographs or scans, into high-quality vector graphics composed of mathematical paths and shapes.

Multi-clipping path service creates multiple paths around different objects within a single image, commonly used in e-commerce to showcase products from various angles and variations.
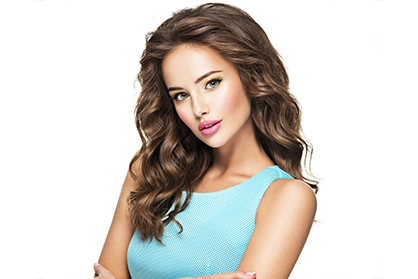
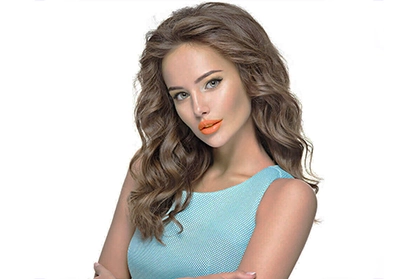
Photo retouching service is a process of enhancing or improving the appearance of an image. This service involves removing imperfections, blemishes, wrinkles, and other unwanted elements from an image.

We understand that every client has unique needs, and we are committed to meeting them all. Whether you need minor adjustments or extensive editing, we have the best tools to deliver outstanding results.
Our rates are affordable, and we guarantee a short turnaround time without compromising on quality. We provide a comprehensive range of services, including photo retouching, clipping path, image masking, ghost mannequin, image enhancement, image shading, photo editing, raster to vector image, image stitching, and much more.
No matter how small or large the project is or what your budget is, we are dedicated to handling every task with utmost care and professionalism to make your life easier. Don't just take our word for it. We invite you to try us out and send a photo for us to showcase our excellent services. We promise to exceed your expectations and provide you with the best photo editing experience. Make it simple and unique.


 Clipping Path Source allows fees through PayPal. You can easily pay us through PayPal, MasterCard, Maestro, Visa, Visa Electron, American Express & Solo, or Direct. If you want, you can transfer our fee into the company's bank account in Canada. For Canadian customers, a cheque may be sent to our Canada office. Read additional frequently asked questions; you possibly will find all you wanted to know.


")


