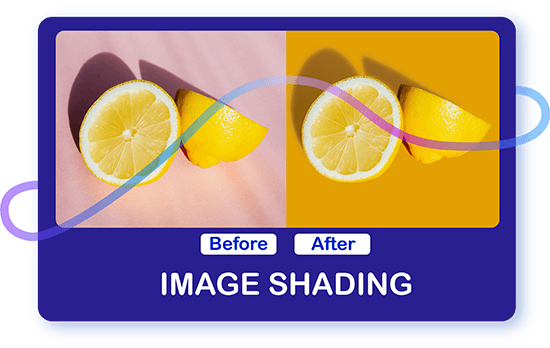

Having to spend an entire day on editing can be draining and sap the enthusiasm out of your creative work.
Crafting attractive and polished product images with flawless shading and clean photos is essential for grabbing customer attention and boosting sales. Yet, the overwhelming number of weekly product launches can turn manual clipping path editing into a time-consuming task, diverting your attention from core business activities.

Trust the pros at Clipping Path Source for your image shading projects.
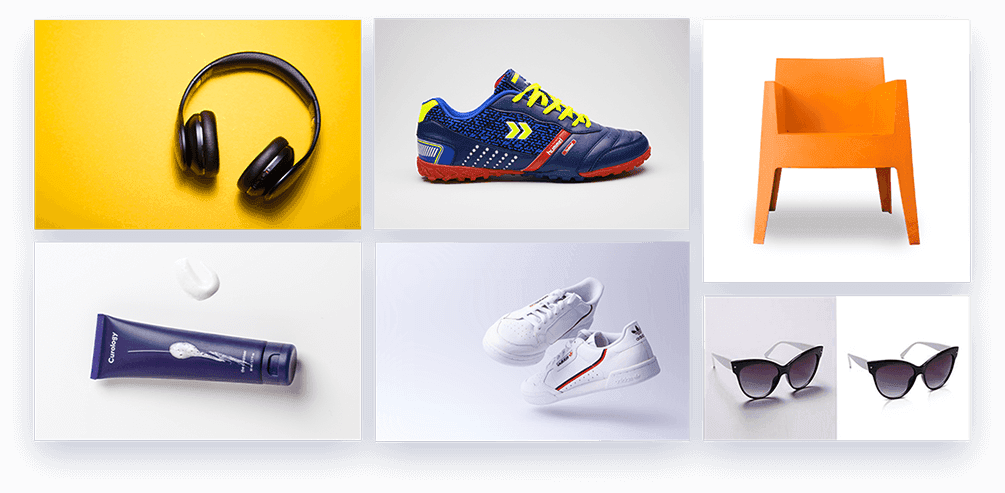
Perfecting the shape of your product's shadow is crucial, but it takes a skilled hand to get it just right. Our team of experts meticulously crafts each shadow by hand, ensuring flawless execution of drop shadow, floating shadow, natural shadow, hover effect, and beyond. With our shadow services, your products will jump off the page and drive sales like never before.
Works
Excelling in Image Shading: Our Top Projects
About shadow
Drop shadow services
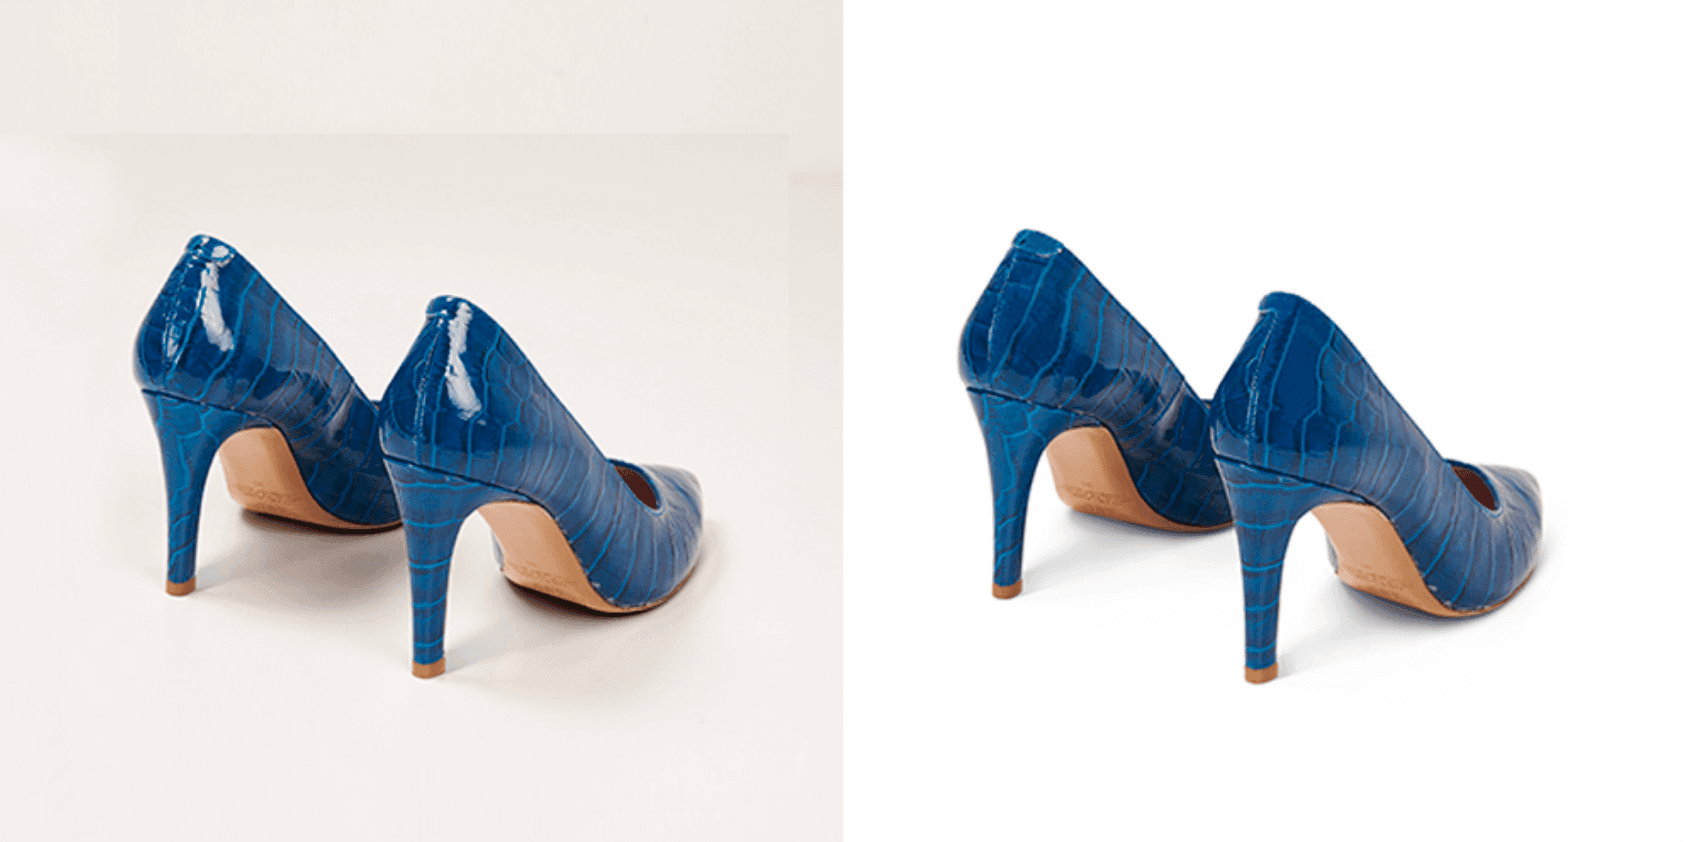
 The creation of shadows in Photoshop is a complex process that requires a great deal of skill and experience. Shadows are an essential element of design, as they add depth and dimension to an image and make it appear more realistic. Shadows can be used to make an object appear as though it is floating above the background or sitting on a surface, and they can be adjusted to match the angle and direction of the light source in the image. This can be especially useful in product shots and architectural images, where a realistic shadow is necessary to create a believable composition.
The process of creating shadows in Photoshop typically involves using one of two tools: the "Drop Shadow" layer style or the "Cast Shadow" tool. The Drop Shadow layer style is a simple and straightforward tool that allows you to add a shadow to any layer in the document. This tool creates a fully customizable shadow that can be adjusted to fit the needs of the design. Shadows can be made softer or harder, made longer or shorter, and changed in opacity to create the desired effect. Shadows can also be repositioned to match the angle of the light source in the image.
The Cast Shadow tool, on the other hand, is designed to create more realistic and natural-looking shadows. This tool takes into account the position of the light source in the image and calculates the angle and direction of the shadow accordingly. This allows you to create a shadow that appears as though it has been cast by a real light source, making it ideal for product shots and architectural images. The Cast Shadow tool also offers a wide range of customization options, allowing you to adjust the size, opacity, and direction of the shadow to match the needs of your design.
Professional Photoshop artists who offer the Shadow Creating Service have the skills and experience necessary to create realistic and natural-looking shadows that complement the design of the image. They use a variety of techniques and tools to create shadows that fit the needs of the client and meet their specific requirements. For example, they may use the Cast Shadow tool to create a realistic shadow for a product shot, or they may use the Drop Shadow layer style to create a softer, more stylized shadow for a piece of graphic design.
In conclusion, the Photoshop Shadow Creating Service is a crucial aspect of photo editing and design. Shadows add depth and dimension to an image, making it more visually appealing and eye-catching. Professional Photoshop artists offer this service to clients who need to enhance the quality of their images and make them stand out from the rest. With the right tools and techniques, they can create realistic and natural-looking shadows that complement the design of the image and meet the client's specific requirements. Whether you need a realistic shadow for a product shot or a softer, more stylized shadow for a piece of graphic design, a professional Photoshop artist can help you achieve the desired result.
There are several types of shadow effects that can be created in Photoshop, including drop shadows, inner shadows, outer shadows, and perspective shadows. Additionally, Photoshop offers various customization options such as angle, opacity, distance, and size, allowing for a wide range of creative possibilities in shadow creation.
Drop shadow
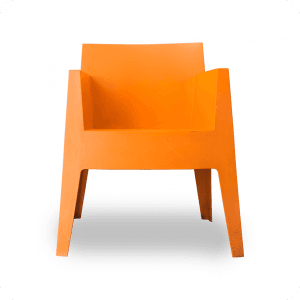
Create a sense of dimensionality in your product photography by incorporating a subtle yet effective shadow effect, which will elevate your items and make them pop against the background.
Natural shadow
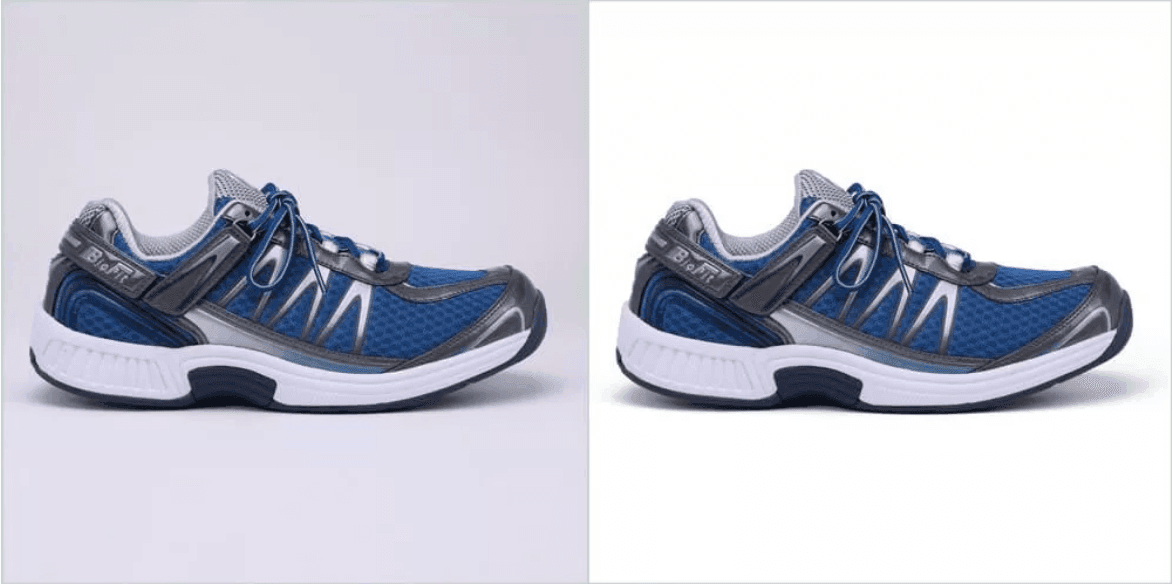
Achieve a natural-looking shadow effect in your product visuals by simulating an imaginary light source through the use of an editor, which will make it seem as if your product is casting a shadow on the surface or background it's placed on.
Floating shadow
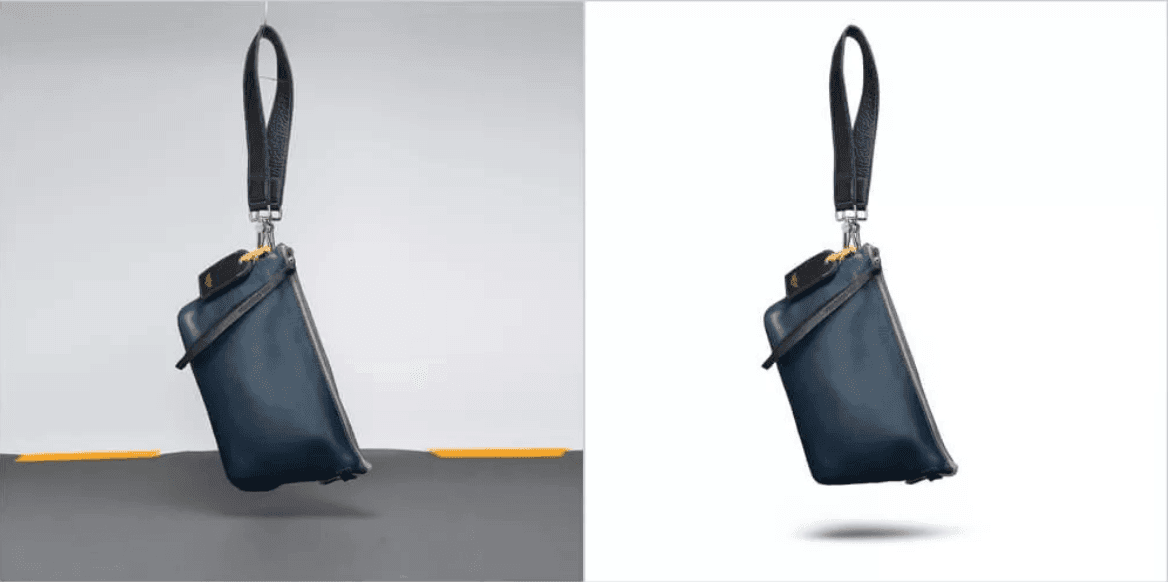
Add a magical touch to your product visuals by creating the illusion of weightlessness and making your items appear as if they are hovering above a surface.
Existing shadow
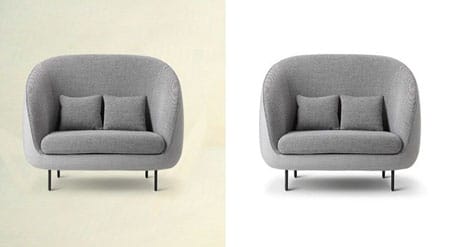
To ensure a flawless and authentic outcome in your edited images, it's crucial to retain any cast shadows that exist naturally in your shot, as they contribute to the visual depth and realism of the composition, even when you're replacing or removing the background.
Mirror reflection shadow
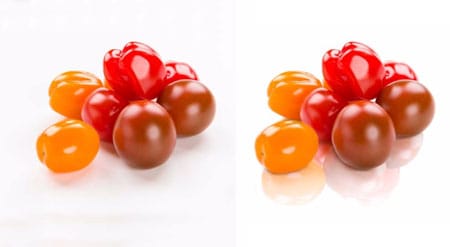
Elevate the appeal of your products by adding a touch of shine with a reflective shadow effect, which creates the illusion of your items resting on a glossy or mirrored surface, adding an extra dimension of visual interest to your product photography.
Image shadow services are commonly used by e-commerce businesses, photographers, graphic designers, and other professionals who need to enhance the visual appearance of their images. These services can help to create a sense of depth and realism in images, making them more attractive and engaging to viewers. They are also useful for removing distracting or unwanted backgrounds, and for highlighting specific objects or features within an image.
E-commerce businesses
Online retailers need high-quality product images to showcase their products and attract customers. Adding a shadow to a product image creates a 3D-like effect, making it look more realistic and appealing.
Photographers
Image shadow services are often used by photographers to emphasize certain elements of an image. Creating a shadow around a subject can help to make it stand out more and create a more dramatic or stylized effect.
Graphic designers
Designers also use image shadow services to create depth and dimension in their designs. Shadows can be used to create a sense of depth in illustrations, logos, or other design elements.
Advertisers
Image shadow services are also commonly used in advertising to create eye-catching visuals. Creating a shadow around a product or object can help to make it stand out more and draw attention to it.
Web designers
Website designers often use image shadow services to create a more professional and polished look for their websites. Shadows can be used to add depth and dimension to images and make them more visually appealing.
The Photoshop Shadow Creating Service can be used in a variety of situations where you need to enhance the quality of your images. Some common scenarios include:
- Product shots: When taking product shots for e-commerce purposes, shadows can be used to make the products appear as though they are floating above the background or sitting on a surface, adding depth and perspective to the image.
- Architectural images: Shadows can be used to make architectural images look more realistic and professional, adding depth and dimension to the building or structure.
- Graphic design: Shadows can be used in graphic design to add depth and dimension to logos, typography, and other elements of the design.
- Website design: Shadows can be used in website design to add depth and dimension to graphics and other elements of the website, making it look more polished and professional.
- Advertising: Shadows can be used in advertising to add depth and dimension to the advertisement, making it look more professional and appealing.
- Photography: Shadows can be used in photography to add depth and dimension to the image, making it look more visually appealing and professional.
In conclusion, the Photoshop Shadow Creating Service can be used in a variety of situations where you need to enhance the quality of your images. Whether you're taking product shots, creating architectural images, working on a graphic design project, designing a website, creating an advertisement, or working on a photography project, this service can help you achieve the desired result.
 The creation of shadows in Photoshop is a complex process that requires a great deal of skill and experience. Shadows are an essential element of design, as they add depth and dimension to an image and make it appear more realistic. Shadows can be used to make an object appear as though it is floating above the background or sitting on a surface, and they can be adjusted to match the angle and direction of the light source in the image. This can be especially useful in product shots and architectural images, where a realistic shadow is necessary to create a believable composition.
The process of creating shadows in Photoshop typically involves using one of two tools: the "Drop Shadow" layer style or the "Cast Shadow" tool. The Drop Shadow layer style is a simple and straightforward tool that allows you to add a shadow to any layer in the document. This tool creates a fully customizable shadow that can be adjusted to fit the needs of the design. Shadows can be made softer or harder, made longer or shorter, and changed in opacity to create the desired effect. Shadows can also be repositioned to match the angle of the light source in the image.
The Cast Shadow tool, on the other hand, is designed to create more realistic and natural-looking shadows. This tool takes into account the position of the light source in the image and calculates the angle and direction of the shadow accordingly. This allows you to create a shadow that appears as though it has been cast by a real light source, making it ideal for product shots and architectural images. The Cast Shadow tool also offers a wide range of customization options, allowing you to adjust the size, opacity, and direction of the shadow to match the needs of your design.
Professional Photoshop artists who offer the Shadow Creating Service have the skills and experience necessary to create realistic and natural-looking shadows that complement the design of the image. They use a variety of techniques and tools to create shadows that fit the needs of the client and meet their specific requirements. For example, they may use the Cast Shadow tool to create a realistic shadow for a product shot, or they may use the Drop Shadow layer style to create a softer, more stylized shadow for a piece of graphic design.
In conclusion, the Photoshop Shadow Creating Service is a crucial aspect of photo editing and design. Shadows add depth and dimension to an image, making it more visually appealing and eye-catching. Professional Photoshop artists offer this service to clients who need to enhance the quality of their images and make them stand out from the rest. With the right tools and techniques, they can create realistic and natural-looking shadows that complement the design of the image and meet the client's specific requirements. Whether you need a realistic shadow for a product shot or a softer, more stylized shadow for a piece of graphic design, a professional Photoshop artist can help you achieve the desired result.
There are several types of shadow effects that can be created in Photoshop, including drop shadows, inner shadows, outer shadows, and perspective shadows. Additionally, Photoshop offers various customization options such as angle, opacity, distance, and size, allowing for a wide range of creative possibilities in shadow creation.
Drop shadow

Create a sense of dimensionality in your product photography by incorporating a subtle yet effective shadow effect, which will elevate your items and make them pop against the background.
Natural shadow

Achieve a natural-looking shadow effect in your product visuals by simulating an imaginary light source through the use of an editor, which will make it seem as if your product is casting a shadow on the surface or background it's placed on.
Floating shadow

Add a magical touch to your product visuals by creating the illusion of weightlessness and making your items appear as if they are hovering above a surface.
Existing shadow

To ensure a flawless and authentic outcome in your edited images, it's crucial to retain any cast shadows that exist naturally in your shot, as they contribute to the visual depth and realism of the composition, even when you're replacing or removing the background.
Mirror reflection shadow

Elevate the appeal of your products by adding a touch of shine with a reflective shadow effect, which creates the illusion of your items resting on a glossy or mirrored surface, adding an extra dimension of visual interest to your product photography.
Image shadow services are commonly used by e-commerce businesses, photographers, graphic designers, and other professionals who need to enhance the visual appearance of their images. These services can help to create a sense of depth and realism in images, making them more attractive and engaging to viewers. They are also useful for removing distracting or unwanted backgrounds, and for highlighting specific objects or features within an image.
E-commerce businesses
Online retailers need high-quality product images to showcase their products and attract customers. Adding a shadow to a product image creates a 3D-like effect, making it look more realistic and appealing.
Photographers
Image shadow services are often used by photographers to emphasize certain elements of an image. Creating a shadow around a subject can help to make it stand out more and create a more dramatic or stylized effect.
Graphic designers
Designers also use image shadow services to create depth and dimension in their designs. Shadows can be used to create a sense of depth in illustrations, logos, or other design elements.
Advertisers
Image shadow services are also commonly used in advertising to create eye-catching visuals. Creating a shadow around a product or object can help to make it stand out more and draw attention to it.
Web designers
Website designers often use image shadow services to create a more professional and polished look for their websites. Shadows can be used to add depth and dimension to images and make them more visually appealing.
The Photoshop Shadow Creating Service can be used in a variety of situations where you need to enhance the quality of your images. Some common scenarios include:
- Product shots: When taking product shots for e-commerce purposes, shadows can be used to make the products appear as though they are floating above the background or sitting on a surface, adding depth and perspective to the image.
- Architectural images: Shadows can be used to make architectural images look more realistic and professional, adding depth and dimension to the building or structure.
- Graphic design: Shadows can be used in graphic design to add depth and dimension to logos, typography, and other elements of the design.
- Website design: Shadows can be used in website design to add depth and dimension to graphics and other elements of the website, making it look more polished and professional.
- Advertising: Shadows can be used in advertising to add depth and dimension to the advertisement, making it look more professional and appealing.
- Photography: Shadows can be used in photography to add depth and dimension to the image, making it look more visually appealing and professional.
In conclusion, the Photoshop Shadow Creating Service can be used in a variety of situations where you need to enhance the quality of your images. Whether you're taking product shots, creating architectural images, working on a graphic design project, designing a website, creating an advertisement, or working on a photography project, this service can help you achieve the desired result.
Why do e-commerce entrepreneurs and photographers outsource their image-shading projects to Clipping Path Source?
It's better to use your talent and creativity on what you love rather than spending hours perfecting small details.
15321
Clients trust us with their image edits
10000
Images are being edited per day
15321
Clients trust us with their image edits
10000
Images are being edited per day
How it works

Quote request
Request a quote for the images you need to be edited — we’ll get back to you instantly

Quote request
Request a quote for the images you need to be edited — we’ll get back to you instantly

Approve the quote
Approve your quote and give us the green light to get started

Approve the quote
Approve your quote and give us the green light to get started

Upload
Upload your images, and then let us do the rest

Upload
Upload your images, and then let us do the rest
