1. Description of Clipping Path!
2. How to execute Clipping Path!
3. The place where to apply Clipping Path!
Description of Clipping Path:
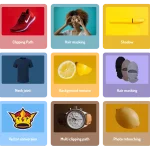
The Path is a vector path or crammed shape utilized to finish a picture in present image editing software like as Adobe Photoshop. In the past the path is wrought, clipping path is next utilized on to this thus that everything on the outer surface the path likely absent while you put the image on Illustrator. Into web mounting or any design software & inside the path would keep on similar as before.
The place where to apply Clipping Path?
Clipping Path is the necessary when we use any photo to arrange a plan, like as leaflet, index design, magazine design, web design & a lot. For an example, I have a picture which has gray background in color & require applying into my site’s home page. I have to eradicate the background of that image since the site color is blue with a number of designs also. As a result, I will want making path all around the photo & altering it concerned in clipping path. While I use it into Design in Illustrator, Dream weaver, the image background will fade away, represent without backdrop. It will give details just the image that was inside the path. Now keep an eye at the images below to get a lively viewpoint.
1st Step
At first open a image into Photoshop you wish to use for clipping path perform (after opening Photoshop, go to the file menu in the Photoshop & then choose open from dialogue box & select the file which you want to apply & just click ‘open’ to finish first step).
2nd Step
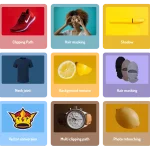
Secondly, select the Pen/Path Tool from the toolbox menu (if you do not find the menu then pick Tools). Then, make sure that you must have to choose Paths from the path/pen tool bar that is located below in the main bar.
3rd Step
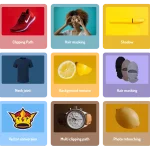
Then click onto the image border & draw the mouse pointer in the path of the next step & release the mouse. Next a fitting seclusion, click once more on the image border & carry on into the same way in expectation of you have completed moving over the image & finally observe this mark “O”. The “O” indicates that, you advance to erect the shutters onto the path. Then click on opening location in succession to lock the path.
border & draw the mouse pointer in the path of the next step & release the mouse. Next a fitting seclusion, click once more on the image border & carry on into the same way in expectation of you have completed moving over the image & finally observe this mark “O”. The “O” indicates that, you advance to erect the shutters onto the path. Then click on opening location in succession to lock the path.
4th Step
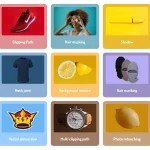
Fourthly, when the path is completed around the image & it is stopped appropriately.Now go to the path palette & click two times on the tool called “work path” & then click enter key to save & the given name of path will be changed to “Path-1” as a substitute of “work path”.
5th Step
Fifth, Go “pop up” menu option to Paths palette and then select “Clipping Path”. Dialogue boxes will appear then & requesting to choose your chosen Flatness & path. Select the path choice you desire to Clipped & then put the softness you wish and press “OK”. Then you are just about to finish. Flatness is the chosen quantities of pixel you want for construct blur the image border. The extra quantities you relate in Flatness & the more image border will be bulrush. In general cutting remark the Flatness box unfilled & the image border would be 100% pointed, which is the best part of the moment appropriate.
6th Step
Finally, you may save the photo into PSD or any other format you desire & ready to set in the file you are execution for plan. At the moment you will obtain the image not including the backdrop. That is the whole concept on clipping path.
Get a free quote
Fill up the form below
[gravityform id="1" title="false" description="false" ajax="true"]
