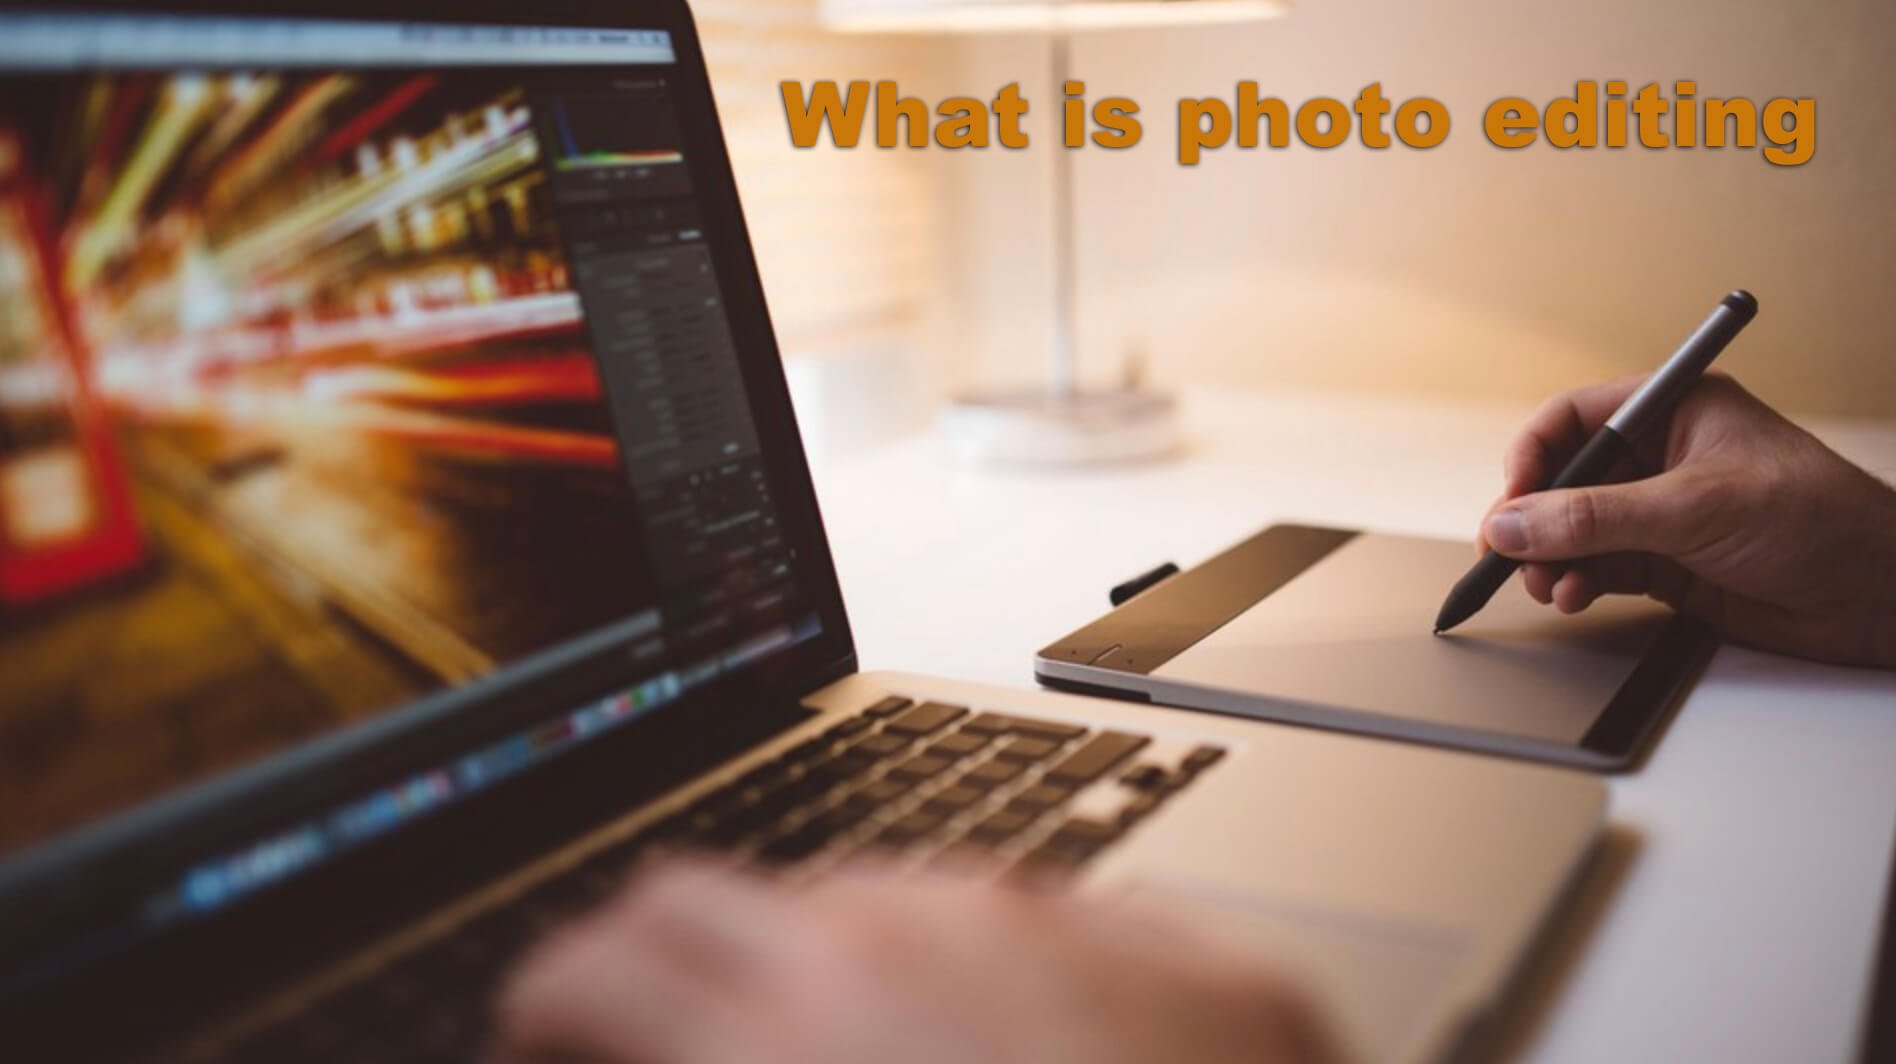
What do you know about photo editing? An interesting, as well as an essential part of clicking pictures, has the involvement of various tasks after the picture is been clicked. Commercial photographers devote most of their time to post-processing photo editing. There is no doubt that the image which they click on is more than awesome but to make them more fabulous, editing comes as a helping hand. Photo Editing seems short-term but it contains various techniques which make it a broader process. Most of the photo editing service is done by GIMP or Adobe Photoshop. This software has numerous numbers of features.
Some of the common features are mentioned below:
- White Balance
- Noise Reduction
- Lens Correction
- Exposure
- Resizing as well as cropping
- Colour Adjustments
- Background Removal
There are some complex techniques as well and those are:
- Portrait corrections
- Changes made from simple to complex clipping path tools and techniques
- Special effects
- Shadows
- Photo layering and masking
- Retouching and enhancement
There are many other features as well which we will discuss in another post. In this article, we are going to discuss some editing tools and techniques which can change the entire photo-like magic. This is the digital era and each and every photographer in this generation has the perfect knowledge of Photoshop. Photoshop is more like a tool. It is a kind of never-ending process. There are numerous numbers of post-editing techniques and we will be discussing those techniques now.
Flattening the Image:
This technique is called the foundation of editing. We cannot build our homes without a proper foundation. Similarly, we cannot edit an image without this step. It is in-camera raw where we want our photo to be edited. Now what we will be doing is opening the image and then adjusting the exposure and color temperature. In the next step, we need to set the highlight slider. It should be between –30 to +80. Next, we will be setting the shadow slider. It should be between +30 to +80. We want our image to be dull and along with that the shadows to be flat. This technique will help in flattening out the image. For flattening it more we will go to photoshop and use all the techniques which will help the photo in giving the right amount of contrast.
Use of Healing Brush:
The healing brush works much better than the spot healing brush. This is because you can select your own target points. You can use a healing brush for removing pimples or any kind of imperfections on the skin. Not only that, but you can also clear any kind of distractions in the background. This tool works amazingly for sports shoots. The difference which you can see after removing those imperfections is huge.
Use of Clone Stamp Set:
Most of the editors frequently use this too to lighten and darken. We generally use the tool in the background and rarely on the skin. An important thing, we need to know here is that we have to maintain the opacity level up to 15%. Clone Stamp Set also helps in blending the transitions on patterns or the sky which do not have many details.
Dodge and Burn:
Dodging as well as burning are interesting techniques. However, there are different ways to apply this effect. For making the image less destructive, you can apply the curve adjustment layer by setting it on a brighter exposure and the other one on a darker exposure. In the next step, you have to use the layer mask as well as a brush to dodge and burn the effect wherever it is necessary. While using this tool, always make sure that the skin of the person who appears in the photo must be even-toned. This is because a lot of contrast is needed in the photo which helps in adding life to the photograph.
Frequency Separation:
Frequency separation is an amazing technique that is being used by the editor to smoothen out the skin. Many of us use frequency separation on skies, clothes, backdrops, etc. You can use it anywhere where you feel that you have to smoothen out a particular area.
B&W layer change to soft light:
This is an amazing technique. For this, all we need to do is open the black and white layer and in the next step, we have to change the blending mode to the soft light mode. After applying this technique we will be seeing that the photo has an excess amount of contrast. To balance this change the opacity level. Keep it between 20% to 60%. This is a tool that will help in giving the commercial look to the image. Not only this, but you can also adjust the skin tone according to your choice.
Color Balance and adjustment layers:
After making the adjustment in the black and white layer, we will be using three sets and those are the color balance, levels, and sat adjustment. These settings will help in toning the image. So, first of all, open the color balance layer. You can add cyans, blues, and magentas to various shadows, green red, and yellows for the mid-tones. For highlighting you can use red and yellow. These effects will make the image much more realistic. After this, you have to use the hue/sat tool for giving the perfect tune to the colors. In this step, you can add your own experiment.
Crushing Highlights:
In this step, we will be adding contrast along with the curve adjustment layer. With the help of this layer, we can adjust the level of highlights. But we always recommend everyone use this tool on high-key images. Because it can make the photo weird.
Use of Layer Masks:
This step is very much essential for each and every person who wants to work in Photoshop. This is because when we edit or tone the image, we do not want the effect to be weird. We generally tone, burn, or dodge and edit various parts of the image with the help of a layer mask.
Blending Modes:
This technique is generally ignored by most editors. They always keep their limit up to the B&W mode to the soft blending mode. There are some places where we need to change the curved layers into luminosity. This technique will help in adding the contrast level. For this, we will open a blank layer first, and then we will be setting the blending mode to the color. Always remember to use the brush by lowering the opacity level between 5% to 15%. There are about 26 blending modes that you can try. These modes will help a lot with experimenting.
So these are some of the basic techniques of photo editing which you can go for. These tips and tricks will help in giving n image a professional look. To attain that look, the professional editor needs to have the perfect software. There is various software available in the market which has numerous numbers of added features. Photoshop is one of them. We hope that this article has helped you out. Please let us know if you have any other tips and tricks.


