
Motion photography is all about capturing energy in motion—whether it’s a fast-moving car, a dynamic athlete, or crashing ocean waves. It tells compelling stories through imagery. With the right techniques, you can either freeze action in sharp detail or introduce artistic blur to convey motion creatively.
In this beginner’s guide, we’ll explore the concept of shutter speed and help you choose the best settings for different scenarios. The aim? To help you bring life and movement to your photos, making them as vibrant and engaging as the moments themselves. Let’s jump in!
What is Motion Photography?
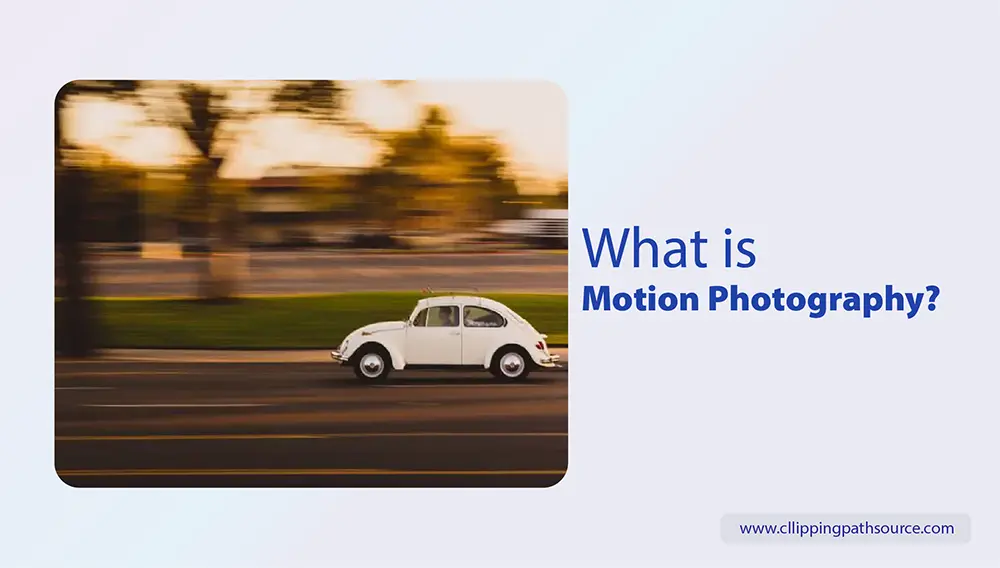
Motion photography is the art of capturing subjects in motion, transforming fleeting moments into powerful still images. This technique adds energy and life to photos, drawing viewers in. You can stop a moment in its tracks—like a bird in mid-flight—or convey the speed of a moving object by creating a dynamic blur. Motion photography gives you the creative tools to do both.
At the heart of motion photography are three core elements: the speed of your subject, your camera’s settings, and timing. Shutter speed plays a critical role in controlling the amount of motion blur in your shots. Mastering this balance is both the challenge and the beauty of motion photography, allowing you to capture movement in its purest form.
Essential Equipment for Motion Photography
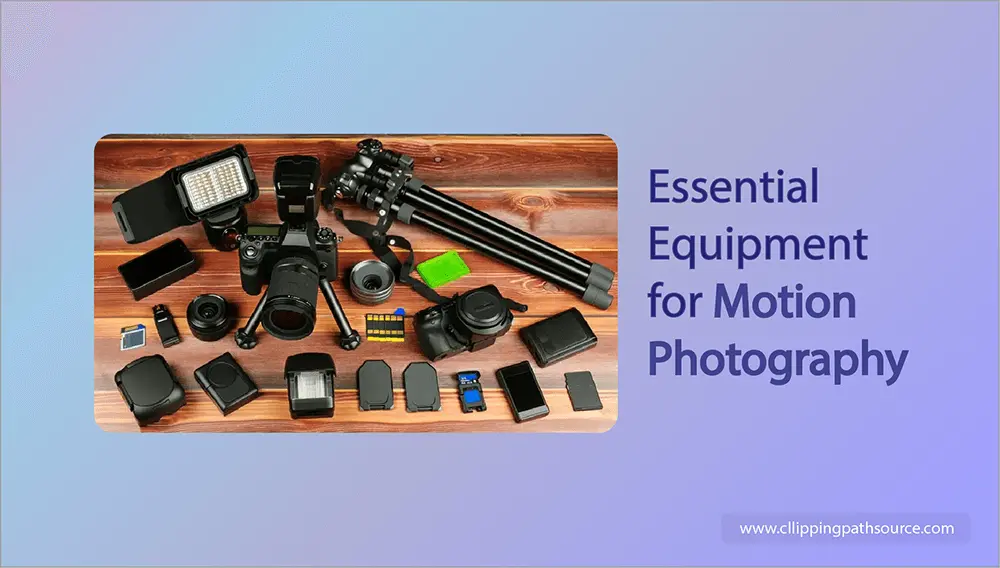
Getting started in motion photography isn’t just about understanding techniques—it’s also about equipping yourself with the right tools to capture dynamic shots effectively. To elevate your game and ensure that your images are sharp, creative, and full of energy, here’s a detailed guide to the essential gear you’ll need.
1. Camera: The Heart of Motion Photography
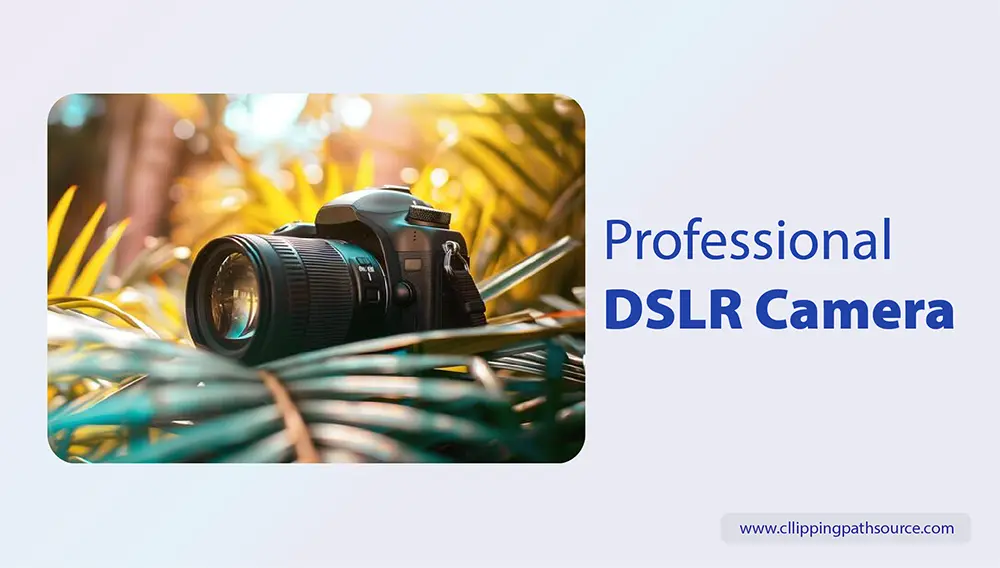
For motion photography, a camera that allows for manual control is non-negotiable. Both DSLR and mirrorless cameras are ideal because they offer complete control over settings like shutter speed, aperture, and ISO—all critical for mastering motion. The ability to manually adjust these settings gives you the flexibility to either freeze a fast-moving object or introduce creative motion blur.
When selecting a camera, look for models that support high-speed continuous shooting, often referred to as burst mode. This feature is essential for capturing a series of images in rapid succession, which is especially useful for fast-paced action like sports, wildlife photography, or street photography. Having multiple frames to choose from increases the likelihood of capturing the perfect moment in motion.
Bonus Tip: Cameras with fast autofocus are also a huge advantage, ensuring your subject stays sharp even when it’s moving unpredictably.
2. Lenses: Zoom in on the Action
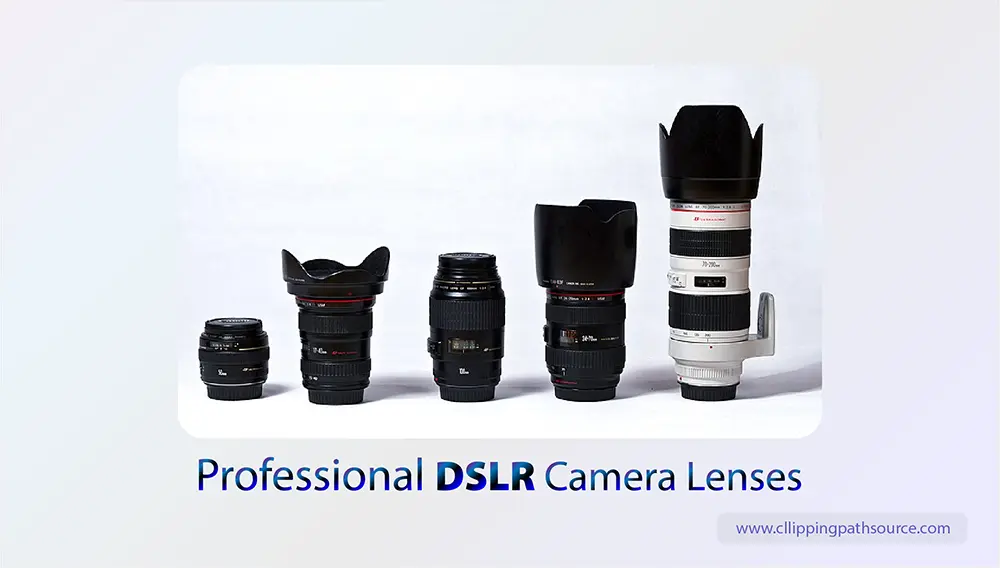
Your lens choice is just as important as your camera. Zoom lenses are particularly effective for motion photography because they allow you to adjust your framing quickly without physically moving. This is especially beneficial when photographing fast-moving subjects, as it keeps you flexible in various situations, from distant wildlife to a moving car in a race.
Opt for lenses with a wide aperture, such as f/2.8 or f/4. These lenses perform better in low-light situations and enable you to achieve a shallow depth of field, which helps isolate the subject from the background and create that sought-after bokeh effect. This background blur is useful in motion photography, as it makes the moving subject stand out while maintaining a sense of depth and motion.
Bonus Tip: A telephoto zoom lens is ideal for capturing distant subjects in action, such as athletes or wildlife, while a standard zoom lens offers more versatility for everyday motion photography.
3. Tripod/Monopod: Stability Meets Flexibility
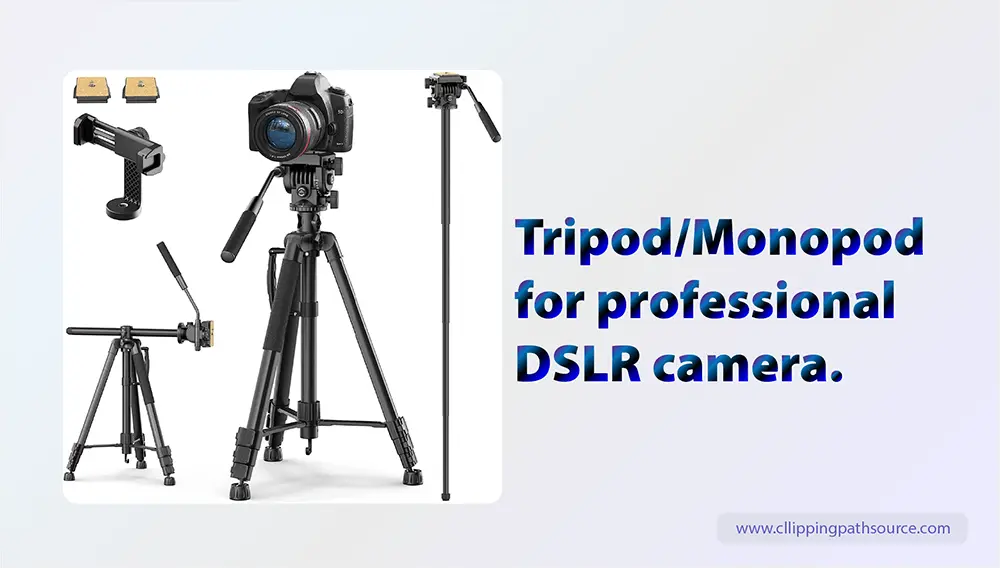
Motion photography often involves shooting at slower shutter speeds to introduce blur or capture motion over time. In these situations, camera stability is crucial. Tripods provide that necessary stability, preventing any unwanted camera shake, especially when using slow shutter speeds. This is essential for achieving sharpness in certain parts of the image while allowing for intentional motion blur elsewhere, like capturing flowing water or light trails from moving cars.
However, in fast-paced environments like sports or street photography, a tripod can feel limiting. That’s where a monopod comes in. It offers a good balance of stability and mobility, allowing you to follow fast-moving subjects while still reducing camera shake. It’s also lightweight and easy to carry around—perfect for photographers on the go.
Bonus Tip: Invest in a monopod with an adjustable head for added flexibility when tracking moving subjects.
4. Remote Shutter Release: A Small Tool with Big Impact
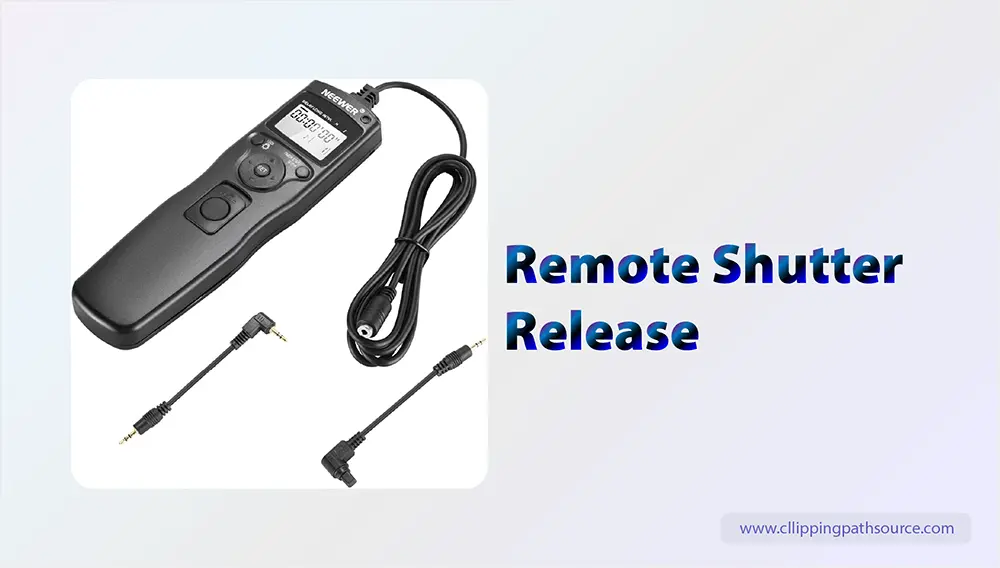
The remote shutter release might seem like a small accessory, but it plays a crucial role in motion photography, particularly when using long exposure times or slow shutter speeds. Pressing the shutter button manually, even with the slightest pressure, can introduce small vibrations that may cause blurriness, especially in low-light situations or when shooting with a tripod.
A remote shutter release eliminates this risk, allowing you to capture the shot without physically touching the camera. It’s especially useful when shooting motion blur or long exposure shots, like light trails or capturing the movement of clouds over time.
Bonus Tip: Some cameras also offer wireless or smartphone app control, which can serve as a remote shutter release and provide additional flexibility when shooting from tricky angles.
5. Filters (Optional): Controlling Light for Creative Effects

If you’re shooting motion photography outdoors, especially in bright daylight, managing light exposure can become a challenge. This is where neutral density (ND) filters come into play. ND filters are like sunglasses for your camera lens, reducing the amount of light that hits the sensor. This allows you to use slower shutter speeds even in bright conditions, which is key for creating smooth, flowing motion effects such as waterfalls, moving crowds, or traffic light trails.
Without an ND filter, slowing down the shutter speed in bright light would result in overexposed images. But with one, you can maintain the desired exposure while still achieving the artistic motion blur you’re aiming for.
Bonus Tip: Start with a basic ND filter and experiment with different strengths (measured in stops) to see how they affect your images.
With these essential tools in your camera bag, you’ll be well-prepared to explore the creative possibilities of motion photography. Whether you’re freezing action or blurring motion for artistic effect, having the right gear ensures you capture every moment in its best light. Now, all that’s left is to get out there and start shooting!
In motion photography, shutter speed plays a critical role in shaping your final image. It controls how long your camera’s sensor is exposed to light, which directly impacts how movement is captured. Whether you want to freeze action or emphasize motion through blur, understanding how to adjust your shutter speed is the key to mastering this art.
Freezing Action
To capture fast-moving subjects in sharp detail—think runners, cars, or wildlife—a fast shutter speed is your go-to tool. Typically, shutter speeds of 1/500th of a second or faster are ideal for freezing motion, stopping the action in its tracks, and eliminating any blur. This approach is perfect for capturing crisp details in action-packed scenes, whether it’s a bird mid-flight or an athlete in motion.
Creating Motion Blur
If your goal is to convey the sensation of speed or fluid movement, using a slow shutter speed will add an artistic blur to moving objects. Shutter speeds of 1/30th of a second or slower can blur the motion of subjects like flowing water, moving cars, or busy city streets. This technique creates a sense of energy and flow, transforming static images into dynamic compositions that tell a story.
Finding the Sweet Spot
The challenge in motion photography is finding the perfect balance. A shutter speed that’s too slow may result in an overly blurred image, while one that’s too fast can strip away the feeling of movement. Understanding the action you’re capturing and the desired effect will help you determine the ideal shutter speed for your shot.
3 Essential Motion Photography Techniques
Motion photography isn’t just about capturing movement—it’s about doing so in ways that elevate your images. Here are three common techniques that photographers use to creatively incorporate motion into their work:
1. Freezing Action
Freezing action is a technique that stops motion dead in its tracks, giving you a crystal-clear shot of fast-moving subjects. This method is especially useful for high-speed scenes like sports, wildlife photography, or action-packed moments. To achieve this, set your shutter speed to 1/500th of a second or faster. The faster the subject, the faster your shutter speed needs to be to avoid any motion blur.
This technique works brilliantly when you want to capture a split-second moment—a soccer player kicking a ball, a bird in mid-flight, or a race car zooming past.
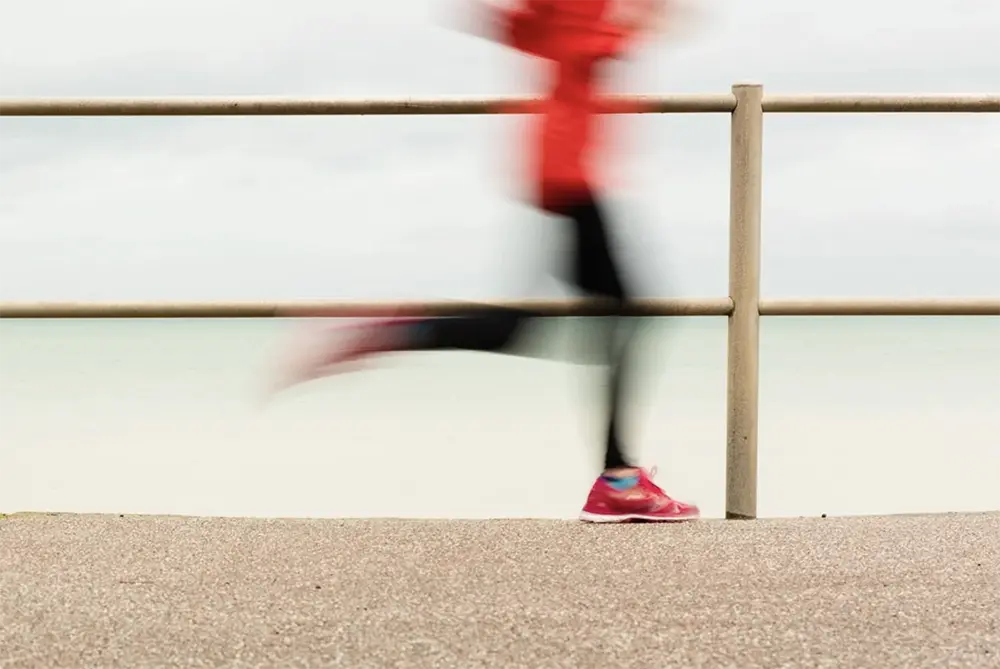
2. Panning
Panning is a dynamic technique that keeps your subject in focus while the background blurs, creating a striking sense of speed and movement. To achieve this effect, you move your camera along with a moving subject while using a slower shutter speed—around 1/30th to 1/60th of a second.
Panning is perfect for situations where the subject is moving parallel to your camera, like cyclists, runners, or cars in a race. The trick is to maintain a smooth, consistent motion while tracking your subject, so they stay sharp while the background streaks with motion blur.
3. Motion Blur
Motion blur embraces the blur caused by movement, turning it into a creative asset. This technique captures the continuous path of a moving object, resulting in a dreamy, fluid effect that adds a sense of flow and motion to your image. Set your camera to a slow shutter speed—1/30th of a second or slower—and ensure your camera is steady, either handheld with a steady hand or using a tripod.
Motion blur is ideal for capturing light trails from cars, the smooth flow of a waterfall, or the bustling activity of a busy street. It’s a great way to highlight the passage of time and create a sense of movement in still images.
Mastering these techniques and understanding how to control shutter speed will help you capture the perfect motion shot, whether you’re stopping the action or using blur for dramatic effect.
Mastering Light in Motion Photography
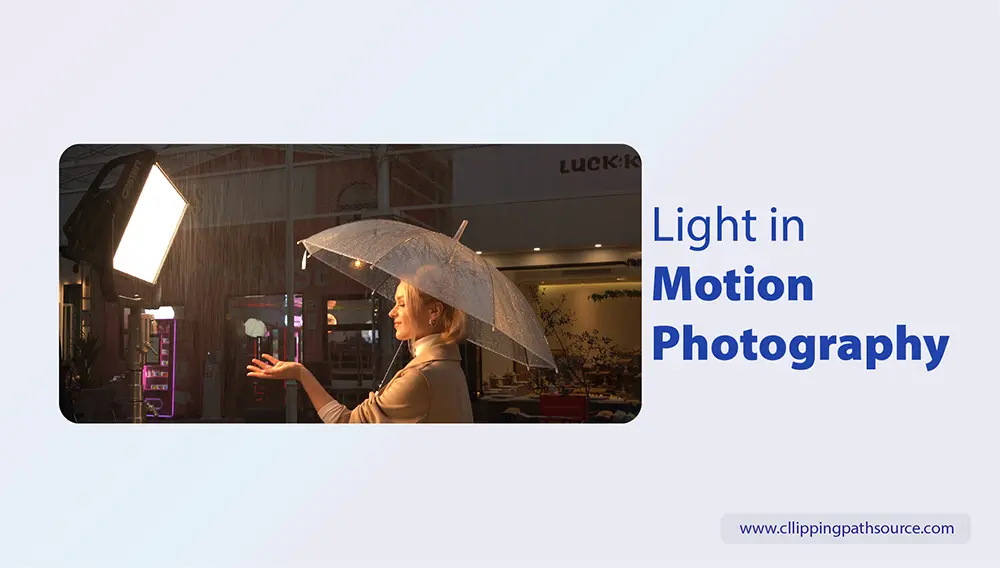
Lighting is a crucial aspect of motion photography. It impacts everything from camera settings to the final image quality. Learning how to use different lighting conditions—whether natural or artificial—will help you capture stunning motion shots in any scenario. Here’s a guide to working with light in motion photography.
a. Natural Light
Golden Hour: The golden hour, which occurs just after sunrise or just before sunset, offers soft, warm lighting that’s ideal for motion photography. The light is less intense, reducing harsh shadows and giving your images a more balanced, aesthetically pleasing look.
Midday Light: Midday sunlight can create harsh shadows, making motion photography more challenging. In these conditions, a fast shutter speed is crucial to avoid overexposing your images while capturing movement effectively. Consider adjusting your settings to balance out the harshness of the light.
Overcast Skies: Cloudy days are a hidden gem for motion photography. The soft, diffused light from overcast skies reduces contrast and shadows, making it easier to capture moving subjects with even lighting. This lighting condition is ideal for focusing on motion without the distractions of harsh lighting contrasts.
b. Low Light and Nighttime Motion Photography
Slow Shutter Speeds: In low light, slower shutter speeds allow more light into the sensor, resulting in beautifully blurred motion and light trails. Use a tripod to prevent camera shake and ensure that the non-moving elements of your image remain sharp. This technique is perfect for capturing scenes like moving traffic or flowing water.
Raising ISO: When shooting in dimly lit environments, increasing your ISO sensitivity helps the camera capture more light. However, keep in mind that higher ISO settings (typically above 800) can introduce noise or grain into your image. The key is to find a balance between ISO, shutter speed, and aperture to maintain image clarity while capturing motion.
Wide Aperture: Using a wide aperture (such as f/2.8 or f/4) lets in more light, which is essential for capturing motion in low light conditions. This allows you to use faster shutter speeds, reducing blur while still keeping your image properly exposed. Wide apertures also create a shallow depth of field, making your subject stand out against a soft, blurred background.
c. Artificial Light
Using Flash for Freezing Motion: In low-light environments, such as indoor sports or nighttime events, a well-timed flash can freeze motion and illuminate your subject. The flash brightens your subject while leaving the background slightly blurred due to low ambient light. This creates a sharp, focused image of the moving subject while preserving the feel of the environment.
Continuous Lighting: In controlled environments like studios, continuous lights provide even illumination, giving you more flexibility to experiment with shutter speeds and motion effects. Continuous lighting allows you to manipulate light and shadows while capturing motion, making it ideal for indoor settings.
Light Trails: For creative effects, use streetlights, car lights, or other sources of artificial light. By using a slow shutter speed, you can capture stunning light trails, which add a dynamic and artistic touch to your motion photography. Light trails are particularly effective for cityscapes, car trails, and nighttime scenes.
d. Balancing Light and Motion
The interaction between light and motion is essential. In bright daylight, faster shutter speeds are necessary to avoid overexposure while capturing motion clearly. In low light conditions, slower shutter speeds, wider apertures, and higher ISO settings will help you capture movement without compromising the image quality.
e. Using ND Filters
In bright environments, where slow shutter speeds might overexpose the image, Neutral Density (ND) filters come to the rescue. These filters reduce the amount of light hitting the camera’s sensor, allowing you to use slower shutter speeds even during the day. This is especially useful when capturing motion blur in bright conditions, such as waves crashing on a sunny beach or moving traffic in broad daylight.
Practice Tips for Enhancing Motion Photography Skills
Motion photography requires not only technical know-how but also hands-on experience. Here are some key tips to help you practice and improve your skills.
a. Start with Simple Subjects
- Moving Cars or Bicycles: These predictable and steady-moving subjects are perfect for beginners. You can practice freezing the action with fast shutter speeds or try panning to capture the motion blur of the background while keeping the subject sharp.
- Pets or Kids at Play: For a more spontaneous challenge, try photographing pets or children in motion. Their unpredictable movements help you practice adjusting your shutter speeds and focusing on fast-moving subjects.
b. Experiment with Shutter Speed
Shutter speed is the backbone of motion photography. Try different settings to see how they affect your image:
- Use a fast shutter speed (e.g., 1/1000th of a second) to freeze action, capturing every detail in crisp focus.
- Use a slow shutter speed (e.g., 1/30th of a second) to create motion blur, which gives a dynamic, flowing effect to your photos.
This experimentation will help you understand how different speeds impact the overall feel of your images.
c. Practice Panning
Panning is a technique that involves following a moving subject with your camera. This keeps the subject in focus while creating a blurred background, enhancing the sense of speed and motion.
- Set your shutter speed between 1/30th and 1/60th of a second.
- Focus on the moving subject, and smoothly follow them as they move.
- As you track their movement, press the shutter to capture the image.
Your goal is to keep the subject sharp while blurring the background, giving the image a dynamic sense of motion.
d. Use Burst Mode for Action Shots
Burst mode (also known as continuous shooting mode) allows you to capture a sequence of shots in quick succession. This increases your chances of capturing the perfect moment, especially when photographing fast-moving subjects such as athletes, pets, or wildlife. Burst mode is particularly useful in action scenes where every split second counts.
e. Shoot in Different Lighting Conditions
Lighting dramatically affects motion photography. Practice capturing motion in a variety of lighting situations to understand how it influences your settings and results:
- The golden hour for soft, flattering light.
- Midday for harsh, high-contrast light.
- Nighttime or low light conditions for motion blur and creative lighting effects.
This will help you build versatility and adapt your techniques to any lighting scenario.
f. Use a Tripod for Motion Blur Shots
For longer exposures and motion blur photography, a tripod is a must-have. It stabilizes your camera and ensures that stationary elements in your photo remain sharp while allowing the moving elements to blur creatively. This technique is especially effective for capturing light trails, flowing water, or busy streets at night.
g. Review and Analyze Your Shots
After each session, take time to review your photos. Pay attention to focus, sharpness, and the balance between motion blur and frozen action. Look for what works and what doesn’t, then use those insights to improve your next shoot. The more you review your images critically, the faster you’ll refine your skills.
h. Practice, Practice, Practice
Like any photography skill, motion photography improves with regular practice. The more you shoot, the better you become at fine-tuning your settings, predicting movement, and capturing that perfect moment.
By mastering light, refining your shutter speed, and practicing key techniques like panning and burst mode, you’ll be well on your way to creating stunning motion photography that captures both action and emotion in every shot.
Post-Processing Tips for Motion Photography
Post-processing is an essential step in motion photography that helps bring out the best in your images, whether you’re freezing fast action or enhancing motion blur. Here are some effective tips for editing your motion shots and making them stand out.
a. Sharpening and Enhancing Clarity
Sharpen Key Details: Sharpening your subject is vital, especially in motion photography, where the main subject can get lost in the movement. Use tools like Unsharp Mask or High Pass Filter in software like Lightroom or Photoshop to enhance key areas and make the action pop.
Managing Noise: Shooting in low light often requires a higher ISO, which can introduce unwanted noise or grain into your images. Reduce this using the Noise Reduction tool available in most editing software. Adjust the balance between noise reduction and detail retention to ensure your image stays clean and sharp.
b. Enhancing Motion Blur
Selective Blur: In situations where motion blur is lacking, or parts of your image are too static, you can add motion blur in post-production. Use Photoshop’s Gaussian Blur or Motion Blur filters to selectively blur certain parts of the image to emphasize motion.
Radial or Directional Blur: These types of blurs are especially effective in motion shots of vehicles or athletes. Apply Radial Blur to circular motion or Directional Blur to straight-moving objects like speeding cars. This adds depth and speed, focusing attention on the subject while retaining the movement in the background.
c. Perfecting Composition with Cropping
Highlight the Action: Cropping allows you to focus on the most exciting parts of the frame, removing any unnecessary distractions and emphasizing the movement. By zooming in on the action, you can increase the impact of the subject’s motion.
Straighten Your Frame: When shooting panning shots, a tilted horizon or crooked background can distract from the motion. Use the straightening tool in your editing software to align the frame, moving appear more deliberate and polished.
d. Adjusting Exposure and Contrast
Balance Exposure: Motion shots, especially in changing light conditions, can often be overexposed or underexposed. Adjust the Exposure slider in Lightroom or Photoshop to recover lost detail in the shadows or highlights. This will help restore balance and improve the overall clarity of your image.
Boosting Contrast: Contrast can help define the subject, especially when shooting high-speed action. By increasing contrast, you create separation between the subject and the background, making the movement more striking.
e. Enhancing Colors and Lighting
Saturation and Vibrance: Boosting Saturation and Vibrance make the colors in your motion shots more vivid, adding life to the image. This is particularly useful in outdoor photography, where natural elements like sky, water, or landscapes can benefit from enhanced colors.
Correct Lighting Issues: Use the Highlight, Shadow, and Mid-tone sliders to fix lighting imbalances. This allows you to recover details from harsh light or deep shadows, improving the overall tone and clarity of the image.
f. Using Vignetting to Draw Focus
Subtle Vignetting: Adding a subtle vignette—darkening or brightening the corners of your image—helps direct the viewer’s attention to the center of the frame. This technique is perfect for motion shots where you want to focus the viewer’s eye on the action in the middle of the shot.
g. Experimenting with Black and White
Convert to Black and White: Black-and-white conversions can simplify the image by removing distractions caused by color. This helps emphasize the texture, shape, and movement. It’s especially effective in high-contrast scenes, where the play between light and shadow can enhance the sense of action and dynamism.
h. Retouching Minor Distractions
Remove Distractions: Use tools like Photoshop’s Clone Stamp or Healing Brush to eliminate unwanted elements in your shot—like random people, objects, or blemishes in the background. This keeps the focus firmly on the movement and action, without any visual interruptions.
i. Exporting for Optimal Quality
Choosing the Right Format: Always save your image in the highest quality possible for the best results. For web use, JPEG is a practical format. However, for print or high-end usage, consider saving in TIFF or high-resolution PNG to retain all the fine details.
Resolution Matters: When exporting for print, set your resolution to 300 DPI to ensure crisp details in the final product. For digital display on the web, 72 DPI is sufficient. Always aim for high resolution to maintain image quality, especially if you’re using the photos in portfolios or for commercial use.
Final Thoughts on Post-Processing Motion Photography
Motion photography is a fantastic way to tell dynamic stories through still images, capturing energy and movement. Whether you want to freeze a moment or showcase artistic motion blur, mastering both your in-camera techniques and post-processing skills is essential.
By paying attention to key elements like sharpness, blur, color, and composition during the editing phase, you can elevate your motion shots to a professional level. Remember, post-processing allows you to perfect the details, making sure the motion and energy are front and center. As always, practice and experimentation are your best tools for honing these skills.
So, keep editing, keep shooting, and keep pushing the boundaries of motion photography!


