How to reduce image file size?
Have an idea to reduce image file size without sacrificing the image quality? Photographs play an important role in any kind of website or blog. Photos themselves describe half of the contents of the websites. It helps in attracting visitors to the websites as well as it also helps in strengthening the identity of the product. Especially in online e-commerce websites, images play a crucial role in gaining traffic. If the quality of the image is not perfect, then it will easily reduce the quality of the content and hence reduce sales. If the size of the image is extremely large and it becomes difficult for you to upload that particular image to your website, then Photoshop will help you in this case. The software will help in reducing the size of the image and that too without reducing the quality of the image.
If you choose an image that is fully SEO optimized which can attract a large number of traffic to the website, photos are the only reason that the visitors get attracted. If the quality of the image is poor, then automatically the traffic of the website will reduce. So, in this article, we are going to provide a tutorial on reducing the size of the images in Photoshop without hampering the quality. So, let’s begin:
Reducing the size of the image in Photoshop:
- So, first and foremost we need to point out the exact size of the photo and we also need to detect if the image needs to be cropped. So, for cropping, we need to select the Crop tool which is situated in the left-hand side corner.
- For maintaining the quality of the image as well as altering the size all we need to do is select the Save for Web tool (File ≥ Export ≥ Save for Web).
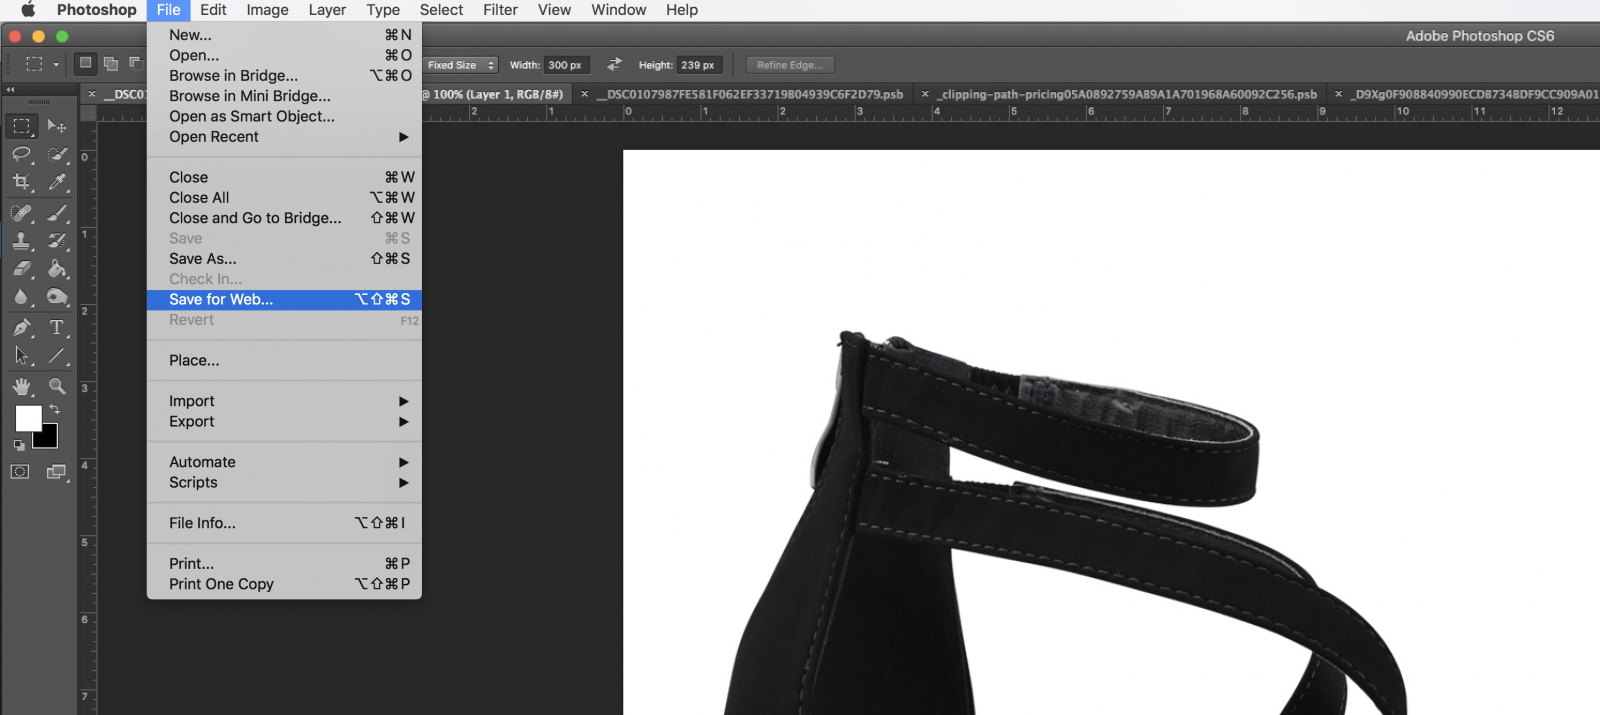
- Next, we need to maintain the size of the image as well as compress the file. It is a tough part but you can easily do it when you become familiar.
- Select the Save for Web option, there you will get different options such as 2-UP which means it will provide the user with a comparison of the current image with the previous image. Whereas file format depicts the quality of the image. You can choose the quality of the compression depending on your wants. There are four options available such as high, medium, very high as well as maximum. There are various other options available such as the quality slider, image size and download rate.
Using the web tools for editing the photo as well as reducing the size of the file:
Canva:

Canva is a photo editor that helps the user to crop as well as resize photos. There are various additional features available on the websites such as rotating and flipping the image, including filters and adding colors.
Pixlr:

Pixlr will help to resize the photo by editing. It is free software that includes various tools for editing.
Compressing the Image:
Tiny PNG:
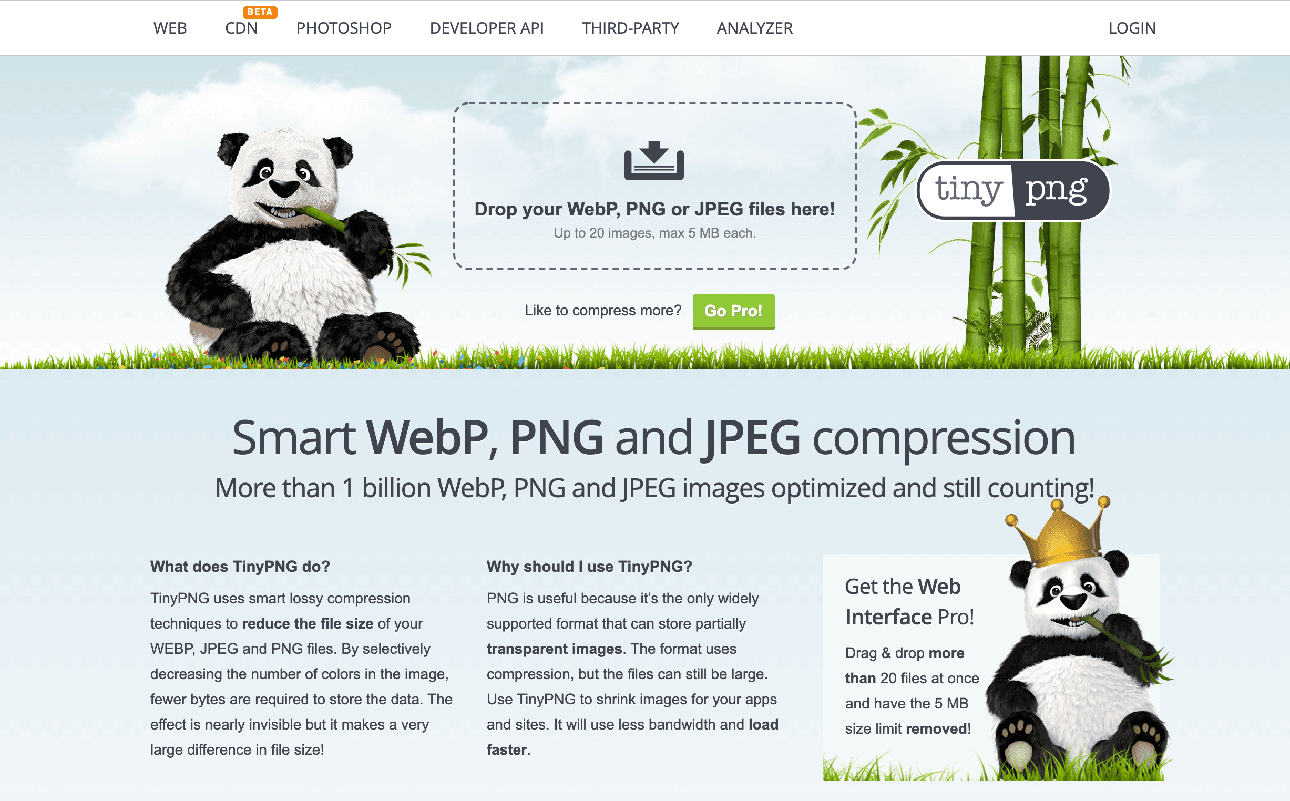
Tiny PNG will help in reducing the size of the file. However, there are no editing tools available and it focuses on compressing by avoiding unnecessary data. And it also makes sure that the quality of the image remains the same.
ImageOptim:

This is used only in the web browser. There are various options available such as metadata, GPS position, etc. which you should keep in mind.
pngquant:
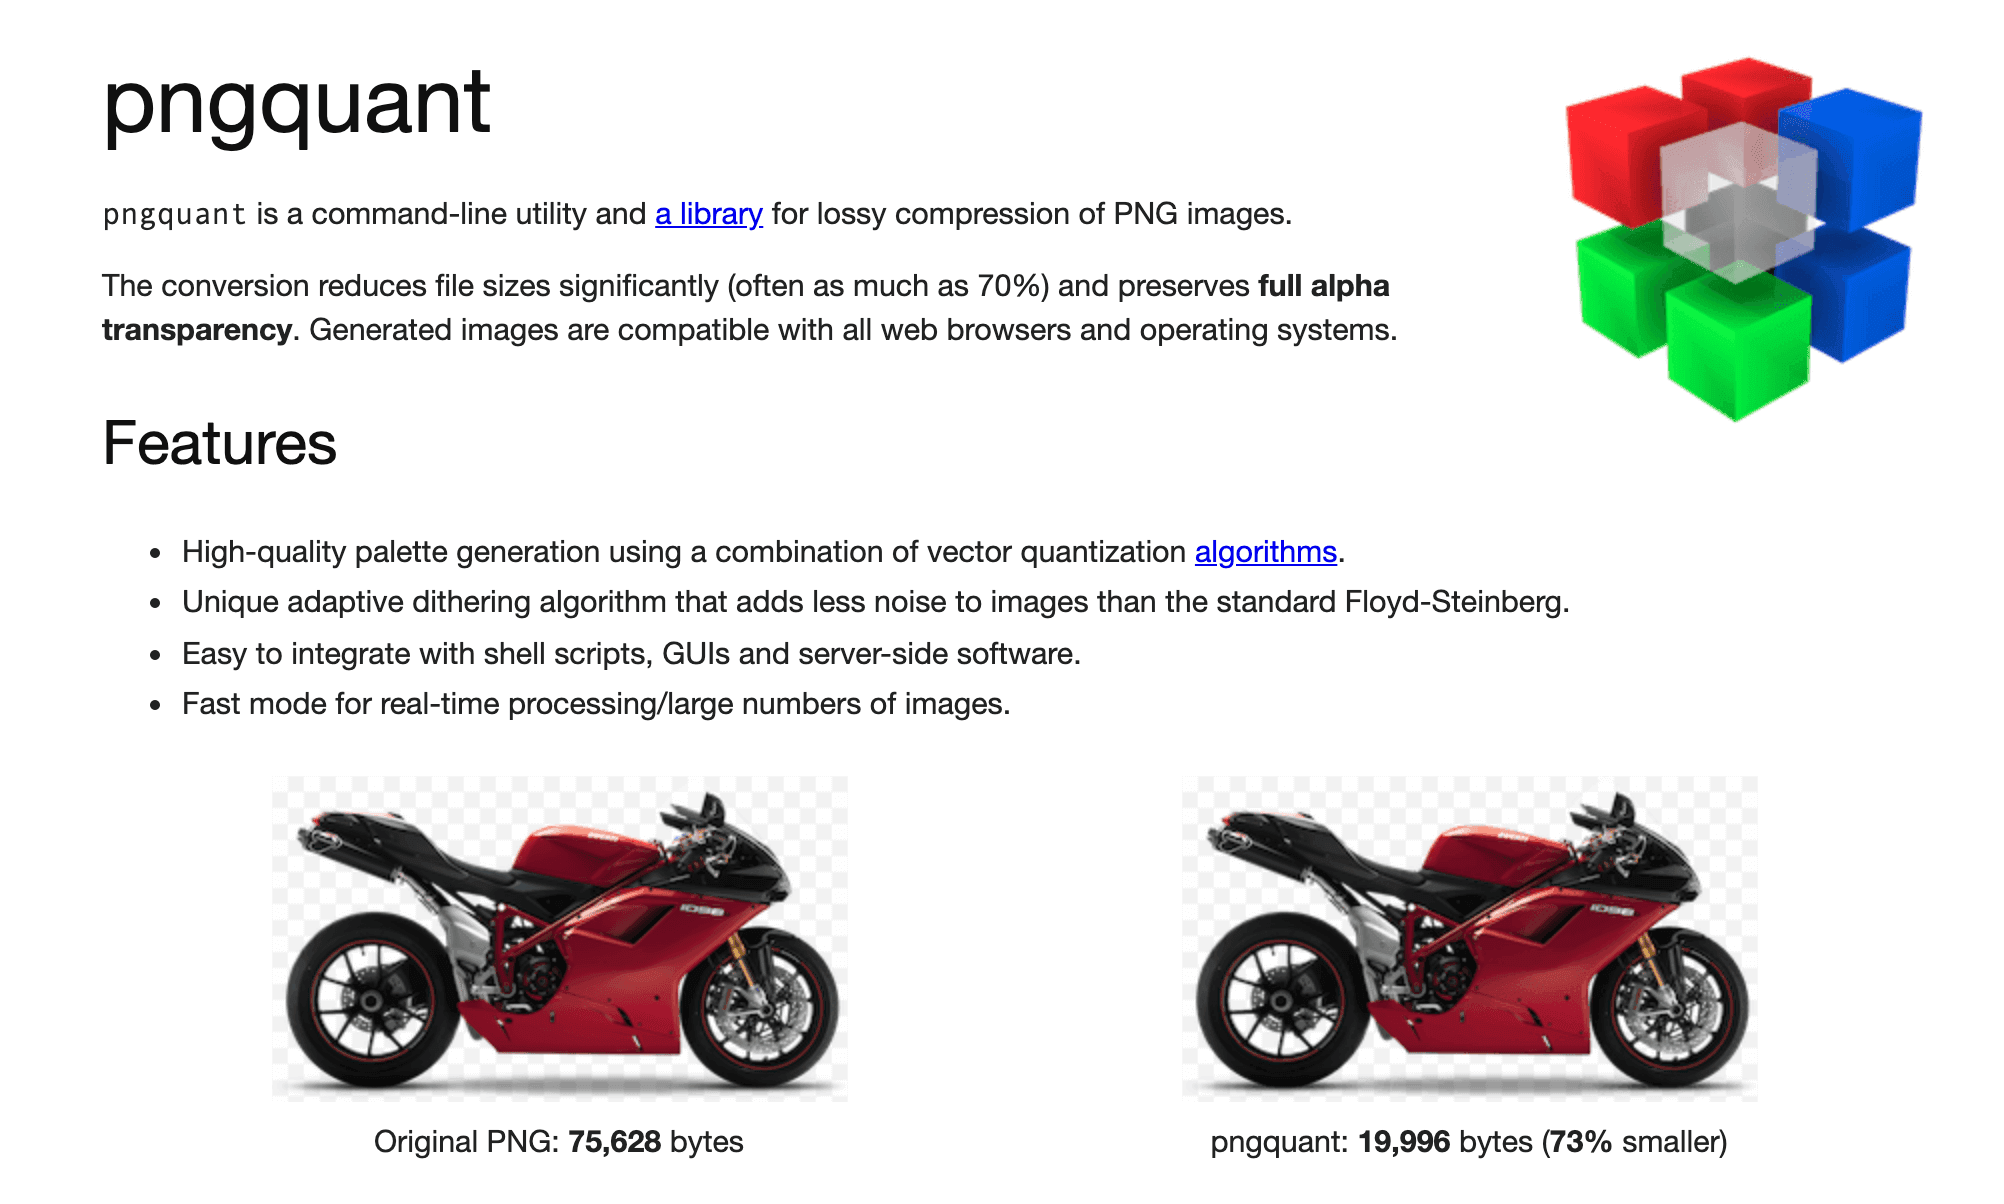
png quant will help in compressing the size of the image by reducing the file. This tool is often used by everyone for their websites because the quality of the image never degrades.
So, these are some of the tools as well as techniques that you should need to know for resizing and compressing the image and these tools are extremely easy to use for beginners. If you have any doubts then you can contact us.

