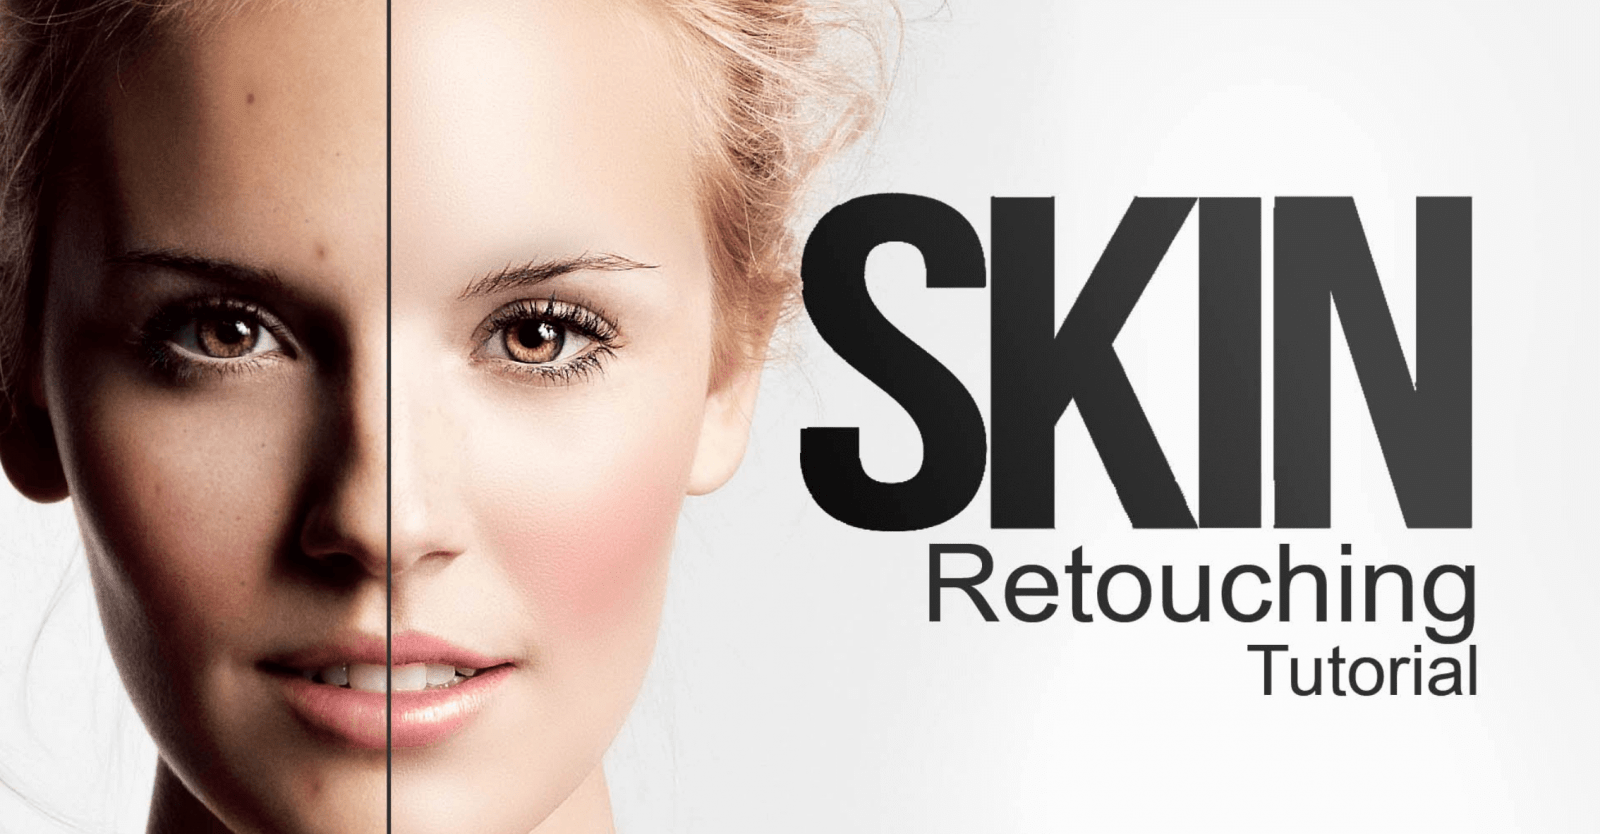
In our previous post, we discussed some tips and tricks to get an idea to some extent improving the skills of skin retouching service technique. In this article, we are going to show you a basic tutorial, especially for beginners on how to do a basic Photo Retouching Technique of skin and that too in an easy way.
Creating an artificial background:
- So, to create an artificial background layer, we need to first open the original image as well as the background layer.
- After opening both images, create two different artificial layers. For creating this, just right-click on the original layer. Follow the step by renaming the two duplicate layers. We can rename it by writing one as “to texture” and then another as “to colour”.
Isolation of texture and colour:
- For this step, we need to start by clicking the colour layer and then directly proceed towards the option which shows Filter. After clicking the filter, we will find several options, click on the Blur and then Gaussian Blur.
- Here, we need to increase the radius. Increase until and unless the colours properly mix very well as well as the blurring effect. Then click
- In the next step, we need to click on the texture and proceed towards the image. Go to the Under-layer, next select “to colour”. Blend it by subtracting with a scale of 2 and offset it to about 128 and then finally click
- For blending, we need to set our blending mode. It should be Linear Light.
Selecting the Area for Cloning effect:
- This is the step where we will start to retouch the skin. For this, click on the colour layer, and choose the option showing Clone Stamp. Here we will set the opacity level as well as the flow. It is recommended to set the level between 30%-50%.
- Next, we need to select the eye and the cheeks area which will help in smoothening the skin. To see the difference, you can even keep a copy of the previous image.
Retouch the photograph:
- Using the same clone tool, we will lighten the skin area mainly focusing on the nose area for removing the dark spots or any kind of imperfections such as redness or blemishes. After that, continue the step by retouching the rest of the left-over areas of the face for removing fine lines, shadows or bumps. This technique will help to even out the skin tone of the person in the photograph.
- Click on to the texture and then by lone stamp tool proceed all over the face for removing the imperfections. We will do this by selecting the clear skin area and dragging that area onto the problem areas of the skin.
Dodge and burn tools:
- After retouching the facial area, we will proceed to retouch the entire image. For this, we will use dodging as well as burning tools.
- Just create two layers. Name those layers as the “Dodging layer” and “Burning layer”. We need to set the opacity as well as the exposure level up to 50% here.
- With the help of these layers, we can play with the image with any kind of colour.
- This tool will help in giving the perfect shapes to the eyes, iris, eyebrows, etc. Not only this we can brighten up the uneven skin tone.
- Then by using the burning tool, we can darken up the eyebrows and the outer corners of the eyes a bit. This tool is also very helpful in giving a perfect definition to the cheeks.
- We can even create a makeup look to the photograph, just start by creating a new layer and then set the image to soft light. For the eyeliner, use the black paintbrush, we can also adjust it with the eraser tool. We can also add lip colour or eyeshadow colour by using this tool.
Now we are good to go. By following the steps, you can get that professional look in the photograph. We hope that this article has helped you a lot to retouch the image in Photoshop.
Suggested article >>


