Clipping Path Source

  • Home
  • Services
    • Clipping Path Service
    • Image Background Removal
    • Image Masking Service
    • Photo Retouching Service
    • Drop Shadow Service
    • Ghost Mannequin Service
    • Raster to Vector
    • Photo Enhancement
    • eCommerce Photo Editing
    • Color changes
    • Multi Clipping Path Services
    • Car photo editing service
    • Image editing services
  • Pricing
  • Blog
  • Contact
    • About Us
  • Quotation
  • Login
FREE TRIAL

How To Reduce Image File Size Without Sacrificing Quality

How To Reduce Image File Size Without Sacrificing Quality

by Robert R. Jones / Wednesday, 11 July 2018 / Published in Tutorial
Reduce File Sizes without compromising the quality

>> What you’ll learn in this article

Toggle
  • How to reduce image file size?
  • Reducing the size of the image in Photoshop:
  • Using the web tools for editing the photo as well as reducing the size of the file:
    • Canva:
    • Pixlr:
  • Compressing the Image:
    • Tiny PNG:
    • ImageOptim:
    • pngquant:
    • Good finds? Share them

How to reduce image file size?

Have an idea to reduce image file size without sacrificing the image quality? Photographs play an important role in any kind of website or blog. Photos themselves describe half of the contents of the websites. It helps in attracting visitors to the websites as well as it also helps in strengthening the identity of the product. Especially in online e-commerce websites, images play a crucial role in gaining traffic. If the quality of the image is not perfect, then it will easily reduce the quality of the content and hence reduce sales. If the size of the image is extremely large and it becomes difficult for you to upload that particular image to your website, then Photoshop will help you in this case. The software will help in reducing the size of the image and that too without reducing the quality of the image.

If you choose an image that is fully SEO optimized which can attract a large number of traffic to the website, photos are the only reason that the visitors get attracted. If the quality of the image is poor, then automatically the traffic of the website will reduce. So, in this article, we are going to provide a tutorial on reducing the size of the images in Photoshop without hampering the quality. So, let’s begin:

Reducing the size of the image in Photoshop:

  • So, first and foremost we need to point out the exact size of the photo and we also need to detect if the image needs to be cropped. So, for cropping, we need to select the Crop tool which is situated in the left-hand side corner.
  • For maintaining the quality of the image as well as altering the size all we need to do is select the Save for Web tool (File ≥ Export ≥ Save for Web).
Related articleUsing Layers In Photoshop – A Comprehensive Beginners' Tutorial

Photo resizing tutorial

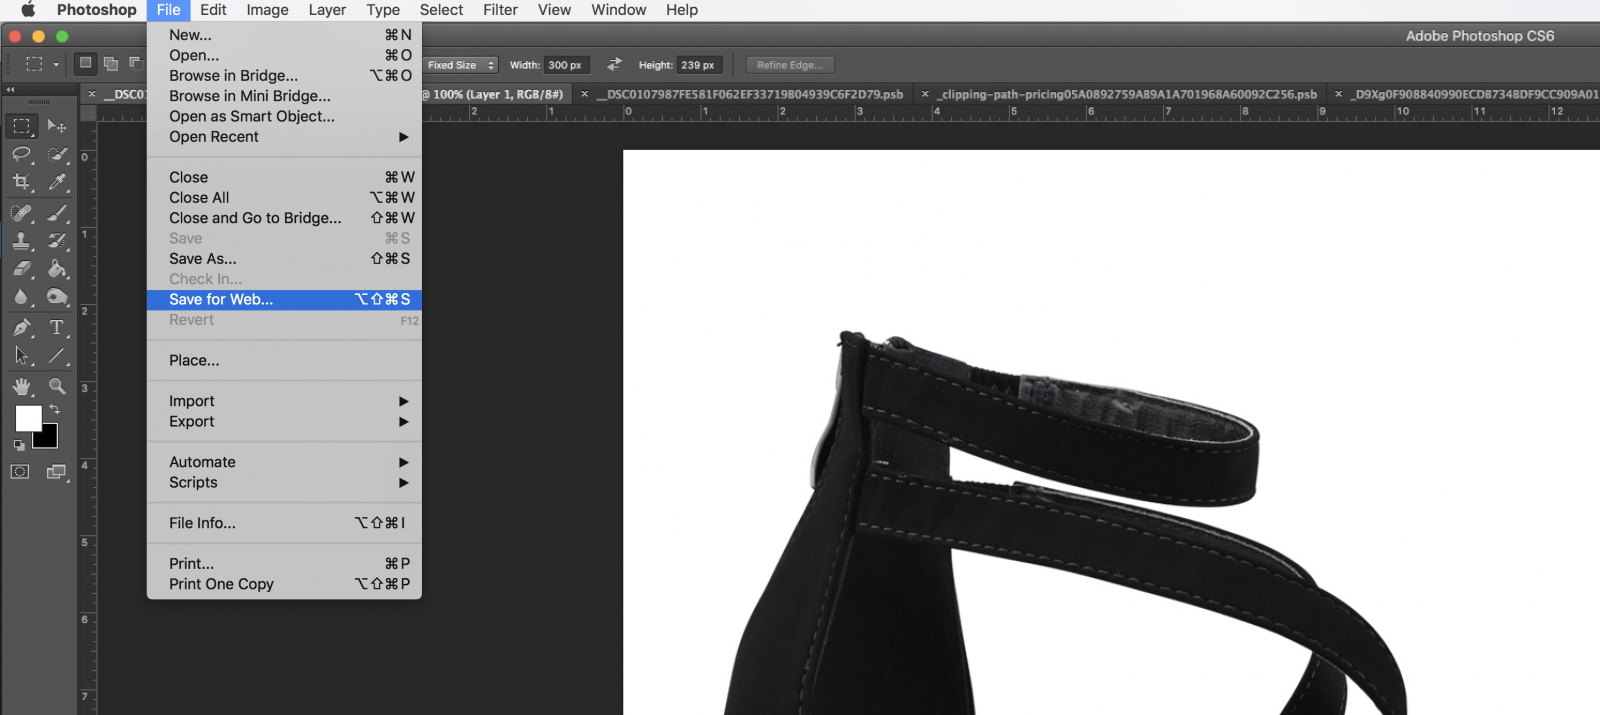
  • Next, we need to maintain the size of the image as well as compress the file. It is a tough part but you can easily do it when you become familiar.
  • Select the Save for Web option, there you will get different options such as 2-UP which means it will provide the user with a comparison of the current image with the previous image. Whereas file format depicts the quality of the image. You can choose the quality of the compression depending on your wants. There are four options available such as high, medium, very high as well as maximum. There are various other options available such as the quality slider, image size and download rate.

Using the web tools for editing the photo as well as reducing the size of the file:

Canva:

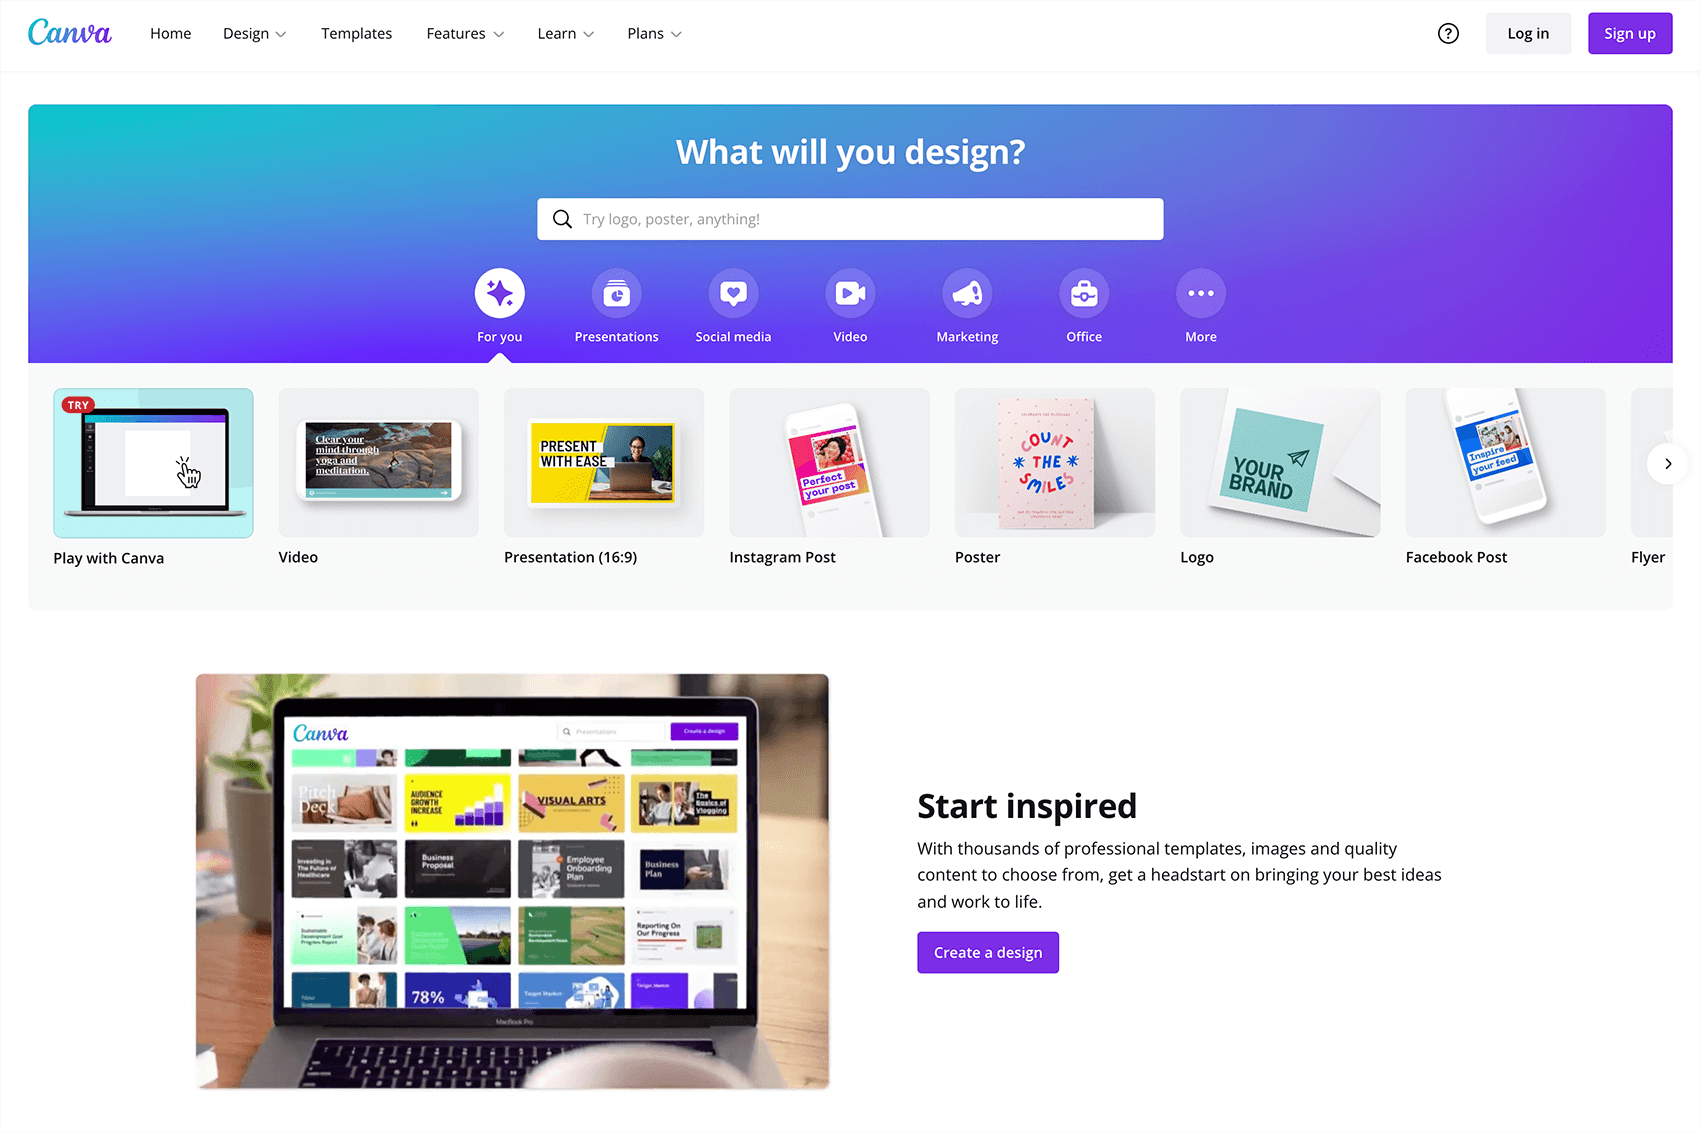
Canva is a photo editor that helps the user to crop as well as resize photos. There are various additional features available on the websites such as rotating and flipping the image, including filters and adding colors.

Pixlr:

Related articlePhoto to Pencil Sketch

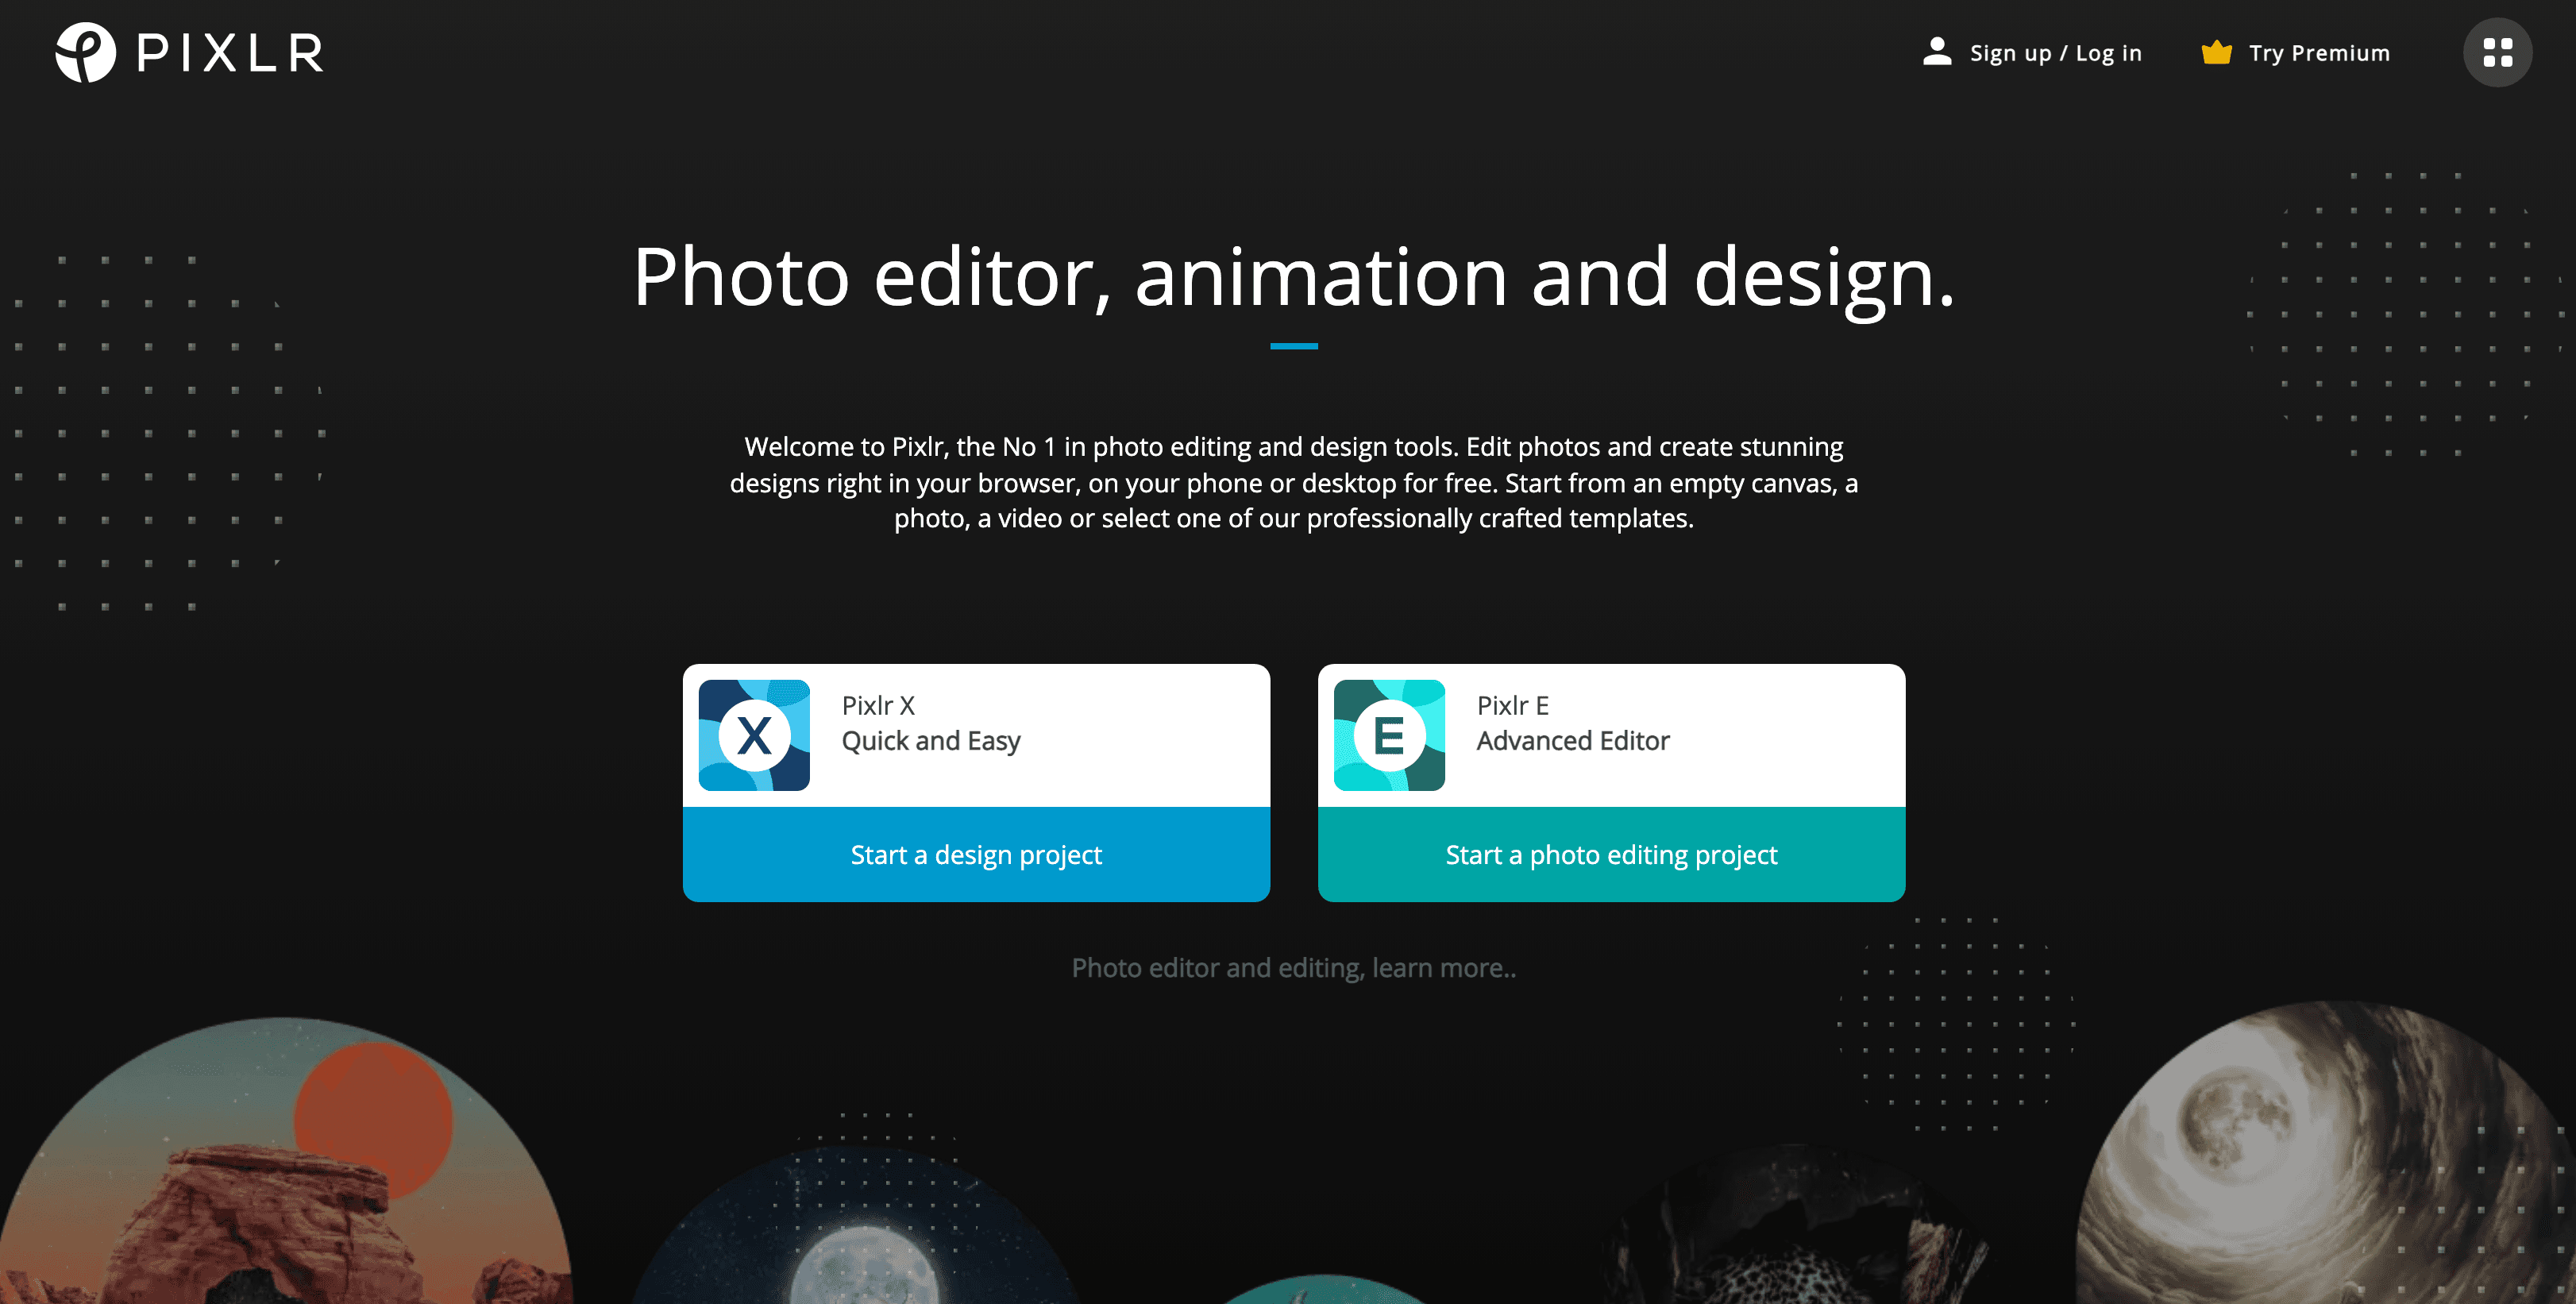
Pixlr will help to resize the photo by editing. It is free software that includes various tools for editing.

Compressing the Image:

Tiny PNG:

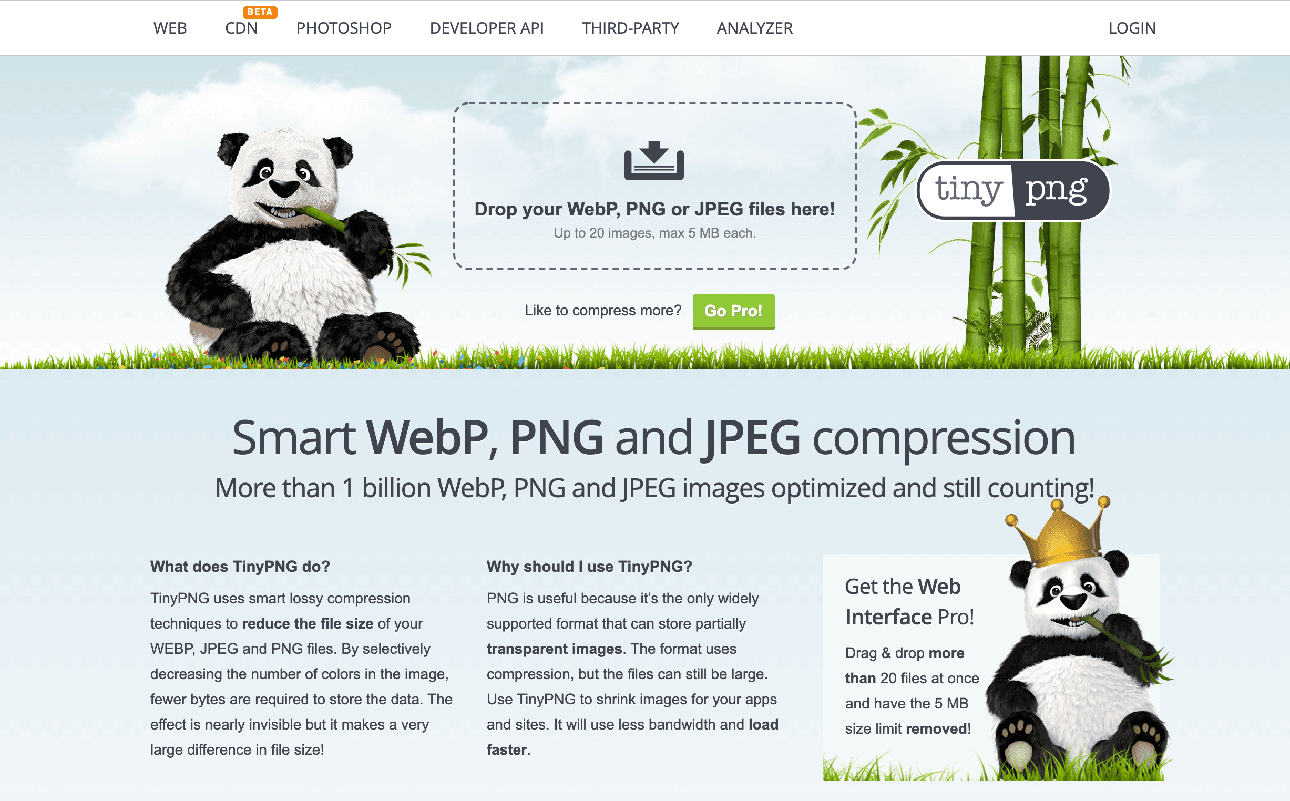
Tiny PNG will help in reducing the size of the file. However, there are no editing tools available and it focuses on compressing by avoiding unnecessary data. And it also makes sure that the quality of the image remains the same.

ImageOptim:

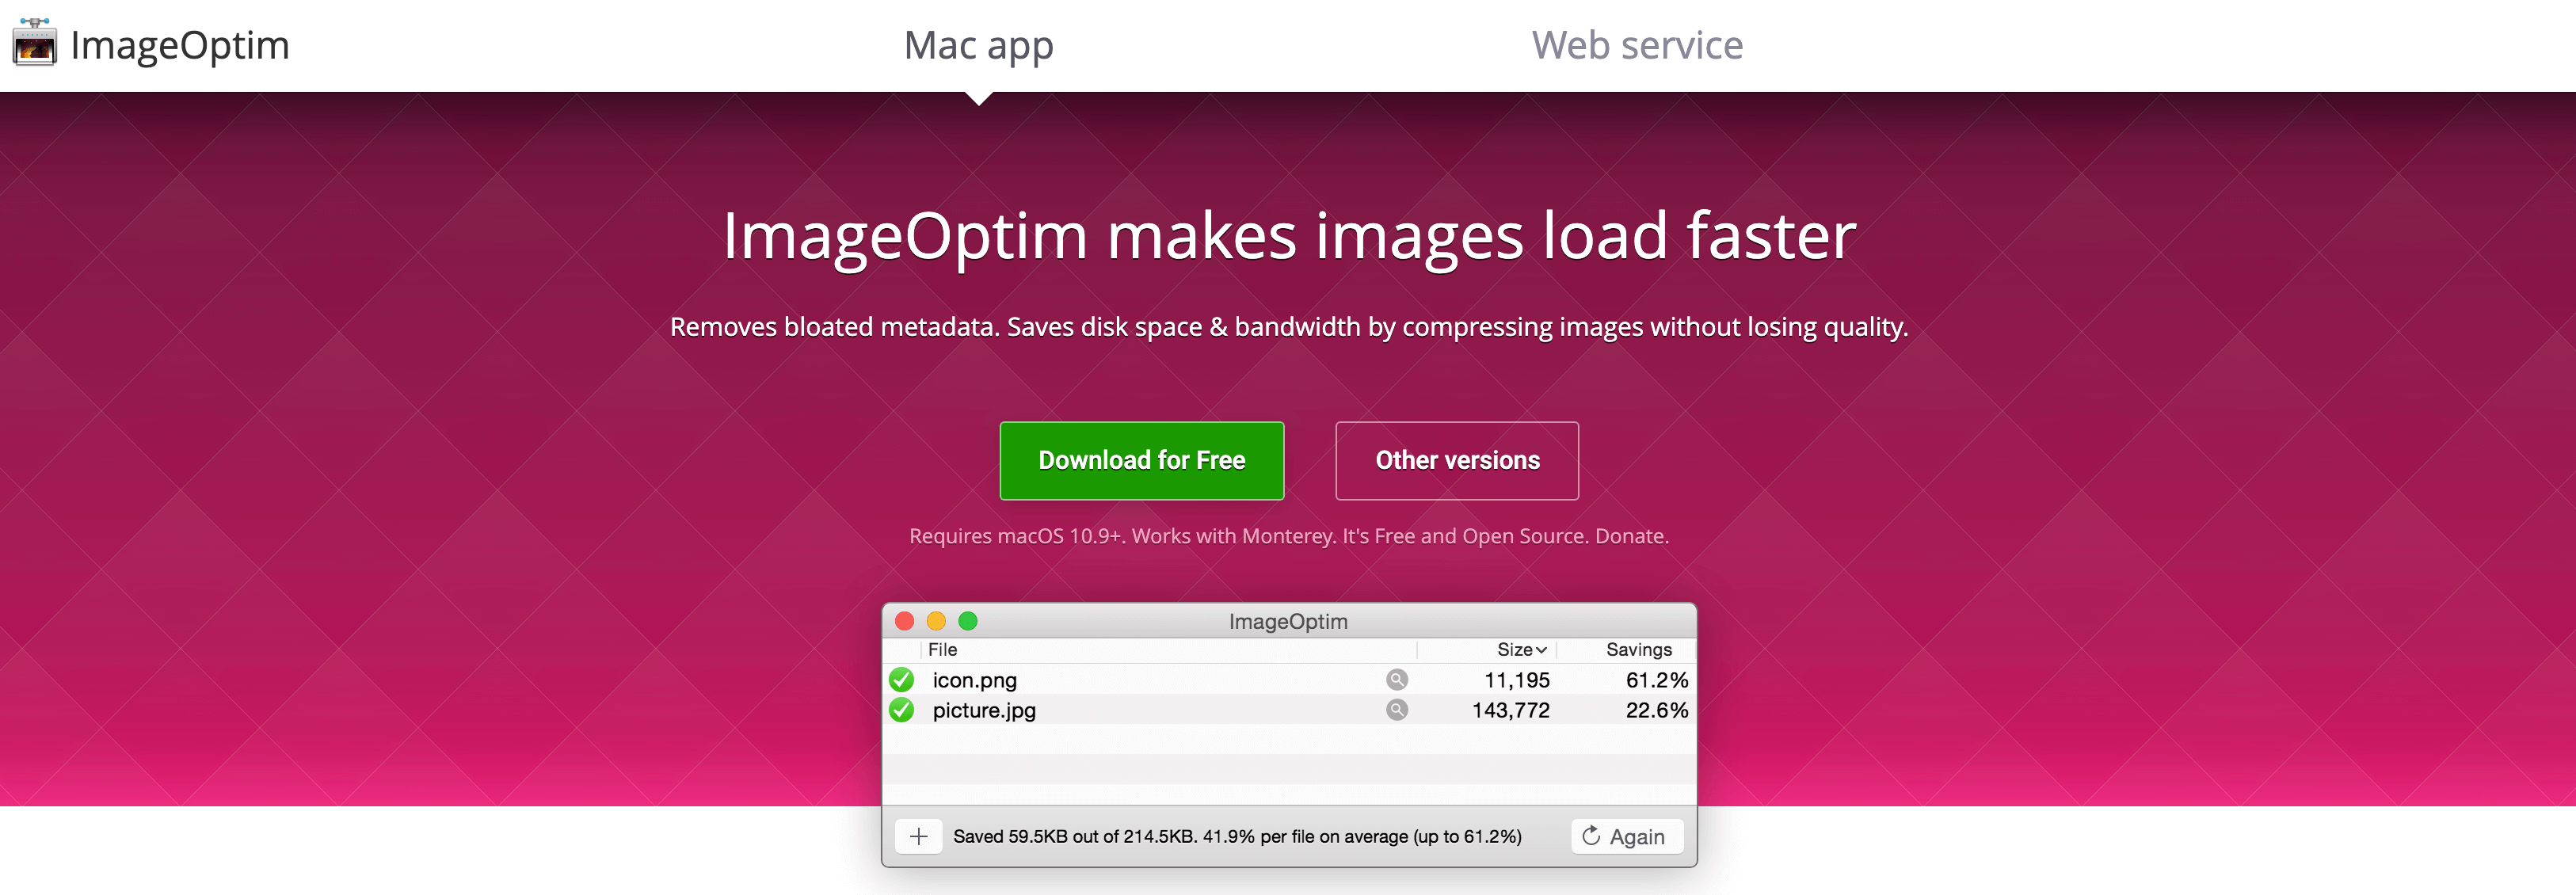
This is used only in the web browser. There are various options available such as metadata, GPS position, etc. which you should keep in mind.

pngquant:

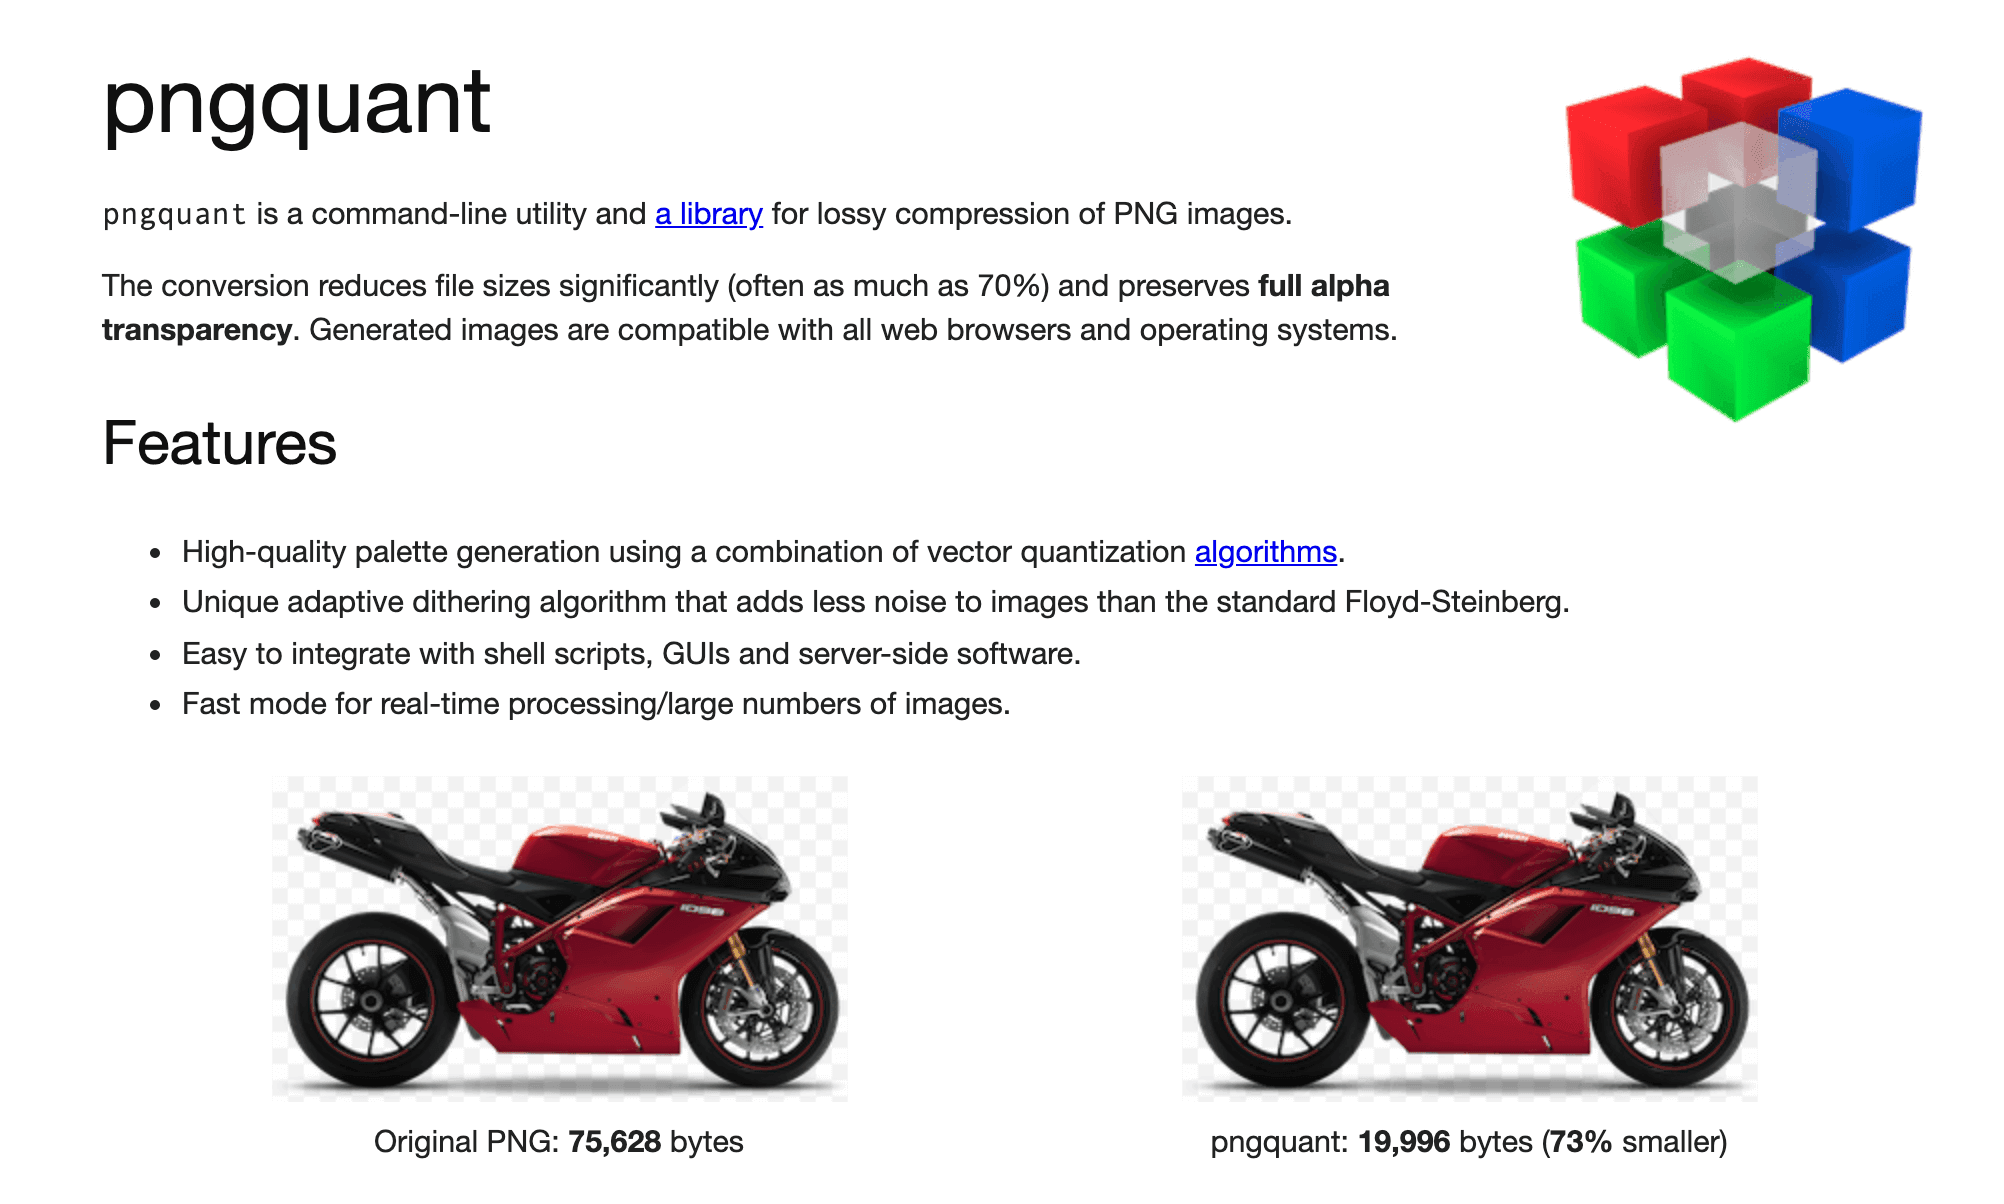
png quant will help in compressing the size of the image by reducing the file. This tool is often used by everyone for their websites because the quality of the image never degrades.

So, these are some of the tools as well as techniques that you should need to know for resizing and compressing the image and these tools are extremely easy to use for beginners. If you have any doubts then you can contact us.

Save

Save

Save

Good finds? Share them

COPY URL
Copied!
Tagged under: How To Reduce Image File Size, Reduce Image File Size

About Robert R. Jones

Hi, this is Robert R. Jones. I am an Australia-based professional article writer and freelancer. I am one of the most senior writers working for several years for customers around the world. I usually loves to play piano, and guitar and also loves to train dogs.

What you can read next

Photo Retouching Technique
Learning The Skin & Photo Retouching Technique
How To Remove Background From Hair In Photoshop CC18
Using photoshop and lightroom in Smartphone
How to Photoshop on a Smartphone | Tips, Tricks and Tools to Use

Get our weekly insights and tips

Subscribed for the newsletter

Recent Posts

  • How to Add a Shadow in Photoshop for Product Photos

    How to Add a Shadow in Photoshop for Product Photos

    0 comments
  • What Is Photo Editing? A Complete Professional Guide to Modern Photo Editing

    What Is Photo Editing? A Complete Professional Guide to Modern Photo Editing

    0 comments
  • Why Top Brands Still Rely on Manual Clipping Path

    Why Top Brands Still Rely on Manual Clipping Path

    0 comments
  • Human-AI Collaboration in Photo Editing: Where Automation Ends and Expertise Begins

    Human-AI Collaboration in Photo Editing: Where Automation Ends and Expertise Begins

    0 comments
  • Photoshop Clipping Path Service

    Photoshop Clipping Path Service: The Ultimate Professional Guide for E-commerce, Photography, and Digital Marketing

    0 comments

Categories

  • Article
  • Clipping path
  • Clipping Path Source
  • Ecommerce business
  • Erase tool
  • Graphic designer
  • Image Editing Service
  • Photo retouching
  • Photographer and Photography
  • Product Photography
  • Raster to vector conversion
  • Review
  • Sports Photography
  • Tips and tricks
  • Tutorial
  • Website image optimization

Services

  • Clipping path service provider at affordable price.
  • Image shading
  • Photoshop masking
  • Photo retouching
  • Raster to vector
  • Mannequin removing
  • Photo enhancement
  • Image stitching
  • eCommerce product images editing

Important links

About us
Gallery
Blog
Privacy policy
Term and conditions
Request an FTP Access
Glossary

Important links

Contact us
FAQ
Services
Partnership
Refund policy
Sitemap
Testimonials

Recent posts

  • How to Add a Shadow in Photoshop for Product Photos

    How to Add a Shadow in Photoshop for Product Photos

    Elevating how to add shadow in Photoshop for pr...
  • What Is Photo Editing? A Complete Professional Guide to Modern Photo Editing

    What Is Photo Editing? A Complete Professional Guide to Modern Photo Editing

    Photo editing is one of the most important part...

Headquarter


2360 Stony Brook Dr Louisville KY 40220.
Phone: USA: +1 (929) 226-9462
Mail: [email protected]
Web: www.clippingpathsource.com

DMCA.com Protection Status   FRANÇAIS | ITALY | N. LANDS | GERMANY

  • GET SOCIAL

© 2026. All rights reserved Clipping Path Source.

TOP
  • USD $ USA Dollar
  • EUR € Europian Euro
WhatsApp us