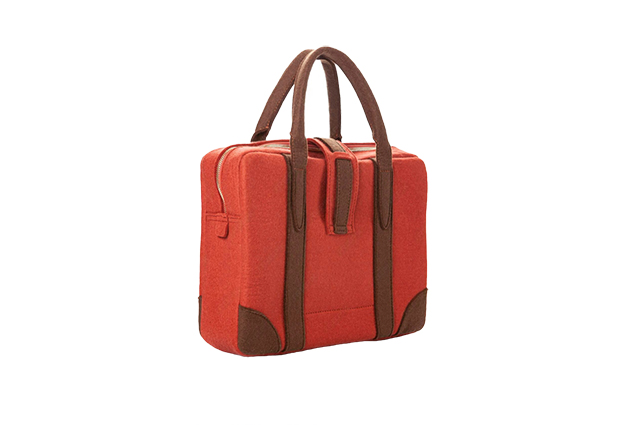
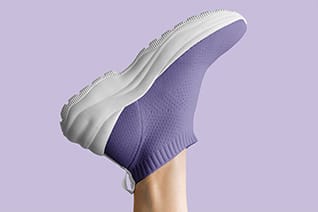
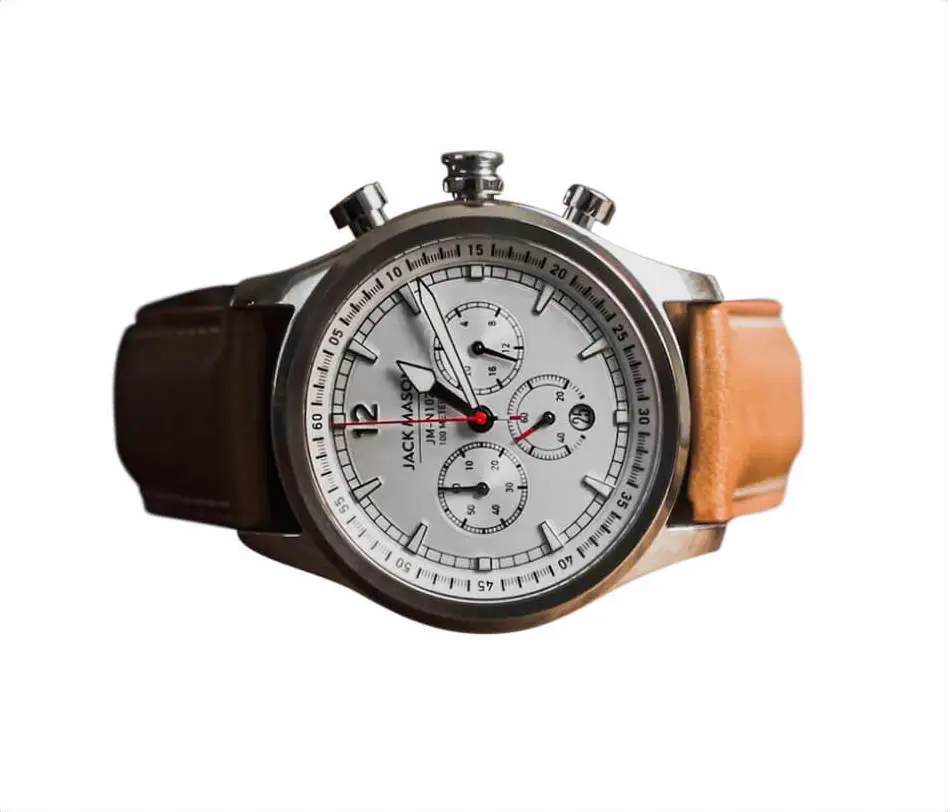
Clipping Path Source

Email: info@clippingpathsource.com
  • FAQ
  • Blog
  • Gallery
  • About Us
  • Clipping Path
  • Services
    • 1st column
      • Masking services
      • Retouching service
      • Image shading service
      • Mannequin removing
    • 2nd column
      • eCommerce Product Images Editing
      • Photo Enhancement Service
      • Raster to vector conversion
      • Image stitching
  • Pricing
  • Uploads
    • Make an order
    • Sendgb Uploads
    • Ftp Access
  • Help
Login
Photo Retouching Technique
Sayadul Arafin Tamjid
Tuesday, 03 July 2018 / Published in Clipping path, Clipping Path Source, Photo retouching, Tutorial

Learning The Skin & Photo Retouching Technique

In our previous post, we discussed some tips and tricks to get an idea to some extent improving the skills of skin retouching service technique. In this article, we are going to show you the basic tutorial especially for the beginners on how to do a basic Photo Retouching Technique of skin and that too in an easy way.

Creating an artificial background:

  • So, to create an artificial background layer, we need to first open the original image as well as the background layer.
  • After opening both the images, create two different artificial layers. For creating this, just right-click on to the original layer. Follow the step by renaming the two duplicate layers. We can rename it by writing one as “to texture” and then another as “to colour”.

Isolation of texture and colour:

  • For this step, we need to start by clicking the colour layer and then directly proceed towards the option which shows Filter. After clicking the filter, we will find several options, click on the Blur and then Gaussian Blur.
  • Here, we need to increase the radius. Increase until and unless the colours properly mix very well as well as the blurring effect. Then click
  • In the next step, we need to click on to the texture and proceed towards the image. Go to the Under-layer, next select “to colour”. Blend it by subtracting with a scale to 2 and offset it to about 128 and then finally click
  • For blending, we need to set our blending mode. It should be Linear Light.

Selecting the Area for Cloning effect:

  • This is the step where we will start to retouch the skin. For this, click on the colour layer, choose the option showing Clone Stamp. Here we will set the opacity level as well as the flow. It is recommended to set the level between 30%-50%.
  • Next, we need to select the eye and the cheeks area which will help in smoothening the skin. To see the difference, you can even keep a copy of the previous image.

Retouch the photograph:

  • Using the same clone tool, we will lighten the skin area mainly focusing on the nose area for removing the dark spots or any kind of imperfections such as redness or blemishes. After that, continue the step by retouching the rest of the left-over areas of the face for removing fine lines, shadows or bumps. This technique will help to even out the skin tone of the person in the photograph.
  • Click on to the texture and then by lone stamp tool proceed all over the face for removing the imperfections. We will do this by selecting the clear skin area and drag that area on to the problem areas of the skin.

Dodge and burn tools:

  • After retouching the facial area, we will proceed to retouch the entire image. For this, we will use dodging as well as burning tools.
  • Just create two layers. Name those layers as “Dodging layer” and “Burning layer”. We need to set the opacity as well as the exposure level up to 50% here.
  • With the help of these layers, we can play with the image with any kind of colour.
  • This tool will help in giving the perfect shapes to the eyes, iris, eyebrows, etc. Not only this we can brighten up the uneven skin tone.
  • Then by using the burning tool, we can darken up the eyebrows and the outer corners of the eyes a bit. This tool is also very helpful to give a perfect definition to the cheeks.
  • We can even create a makeup look to the photograph, just start by creating a new layer and then set the image to soft light. For the eyeliner, use the black paintbrush, we can also adjust it by the eraser tool. We can also add lip colour or eyeshadow colour by using this tool.

Now we are good to go. By following steps, you can get that professional look in the photograph. We hope that this article has helped you a lot to retouch the image in photoshop.

Request for a quote
get the quote within 30 minutes.

[cf7form cf7key=”quote_request”]
Tagged under: image editing company, image editing services, image retouching, photo editing companies for photographers, photo editing company, photo editing services, photo editing services for photographers, photo enhancement services, photo retouch, photo retouching company, photo retouching online, photo retouching services, photo touch up, photo touch up service, photography editing services, photography retouching, photoshop editing services, photoshop services, picture retouch, portrait retouching services, professional photo editing service, professional photo editor online, professional photo enhancement, professional photo retouching, professional photo retouching services, professional photography editing services, professional photoshop services, professional retoucher, professional retouching services, restore pictures, retouching services, retouching services for professional photographers, wedding photo editing service, wedding photo retouching services

Recent Posts

  • Best DSLR overall: Nikon D780

    0 comments
  • How to use pen tool in photoshop | Clipping Path Source

    PHOTOSHOP TUTORIAL: HOW TO USE THE PHOTOSHOP PEN TOOL

    2 comments
  • How to take professional product photos with a smartphone

    0 comments
  • Drop shadow, natural shadow, reflection shadow services

    Mirror image reflection Service

    0 comments
  • Background Removing Using Adobe Photoshop CS6 Tutorial

    0 comments

Categories

  • Article
  • Clipping path
  • Clipping Path Source
  • Erase tool
  • Graphic designer
  • image editing service
  • Importance of graphic design
  • Photo retouching
  • Product Photography
  • Raster to vector conversion
  • Tutorial
  • Using layers in Photoshop
  • website image optimization

Services

  • Clipping Path
  • Image shading
  • Photoshop masking
  • Photo retouching
  • Raster to vector
  • Mannequin removing
  • Photo enhancement
  • Image stitching
  • eCommerce product images editing

Important links

Gallery
About us
FAQ
Blog
Privacy policy
Refund policy
Terms of Use

Tutorials

  • Clipping Path Tutorial
  • Image Shading Tutorial
  • Photo Editing Tutorial
  • Image Masking Tutorial
  • Photograph Retouching Tutorial
  • Raster to Vector Tutorial

Recent posts

  • Best DSLR overall: Nikon D780

    Nikon D780 Best DSLR overall: Nikon D780 Why sh...
  • How to use pen tool in photoshop | Clipping Path Source

    PHOTOSHOP TUTORIAL: HOW TO USE THE PHOTOSHOP PEN TOOL

    PHOTOSHOP PEN TOOL When the editor works in mak...

Headquarter


Office: Rupnagar, R/A
Mirpur – Dhaka-1216, Bangladesh.
Phone: +880-1714266446
Mail: info@clippingpathsource.com
Web: www.clippingpathsource.com

Site map | Contact us | Partnership | Terms of Use | F A Q | Read more ->

paymentgateway

  • GET SOCIAL

© 2021. All rights reserved Clipping Path Source.

TOP